Whiten teeth in a photo. Still your smile.
Whiten, straighten, or both, matched to your lip colour and skin tone so the edit stops at the teeth. No brush to steer, no watermark.
Try it on a photo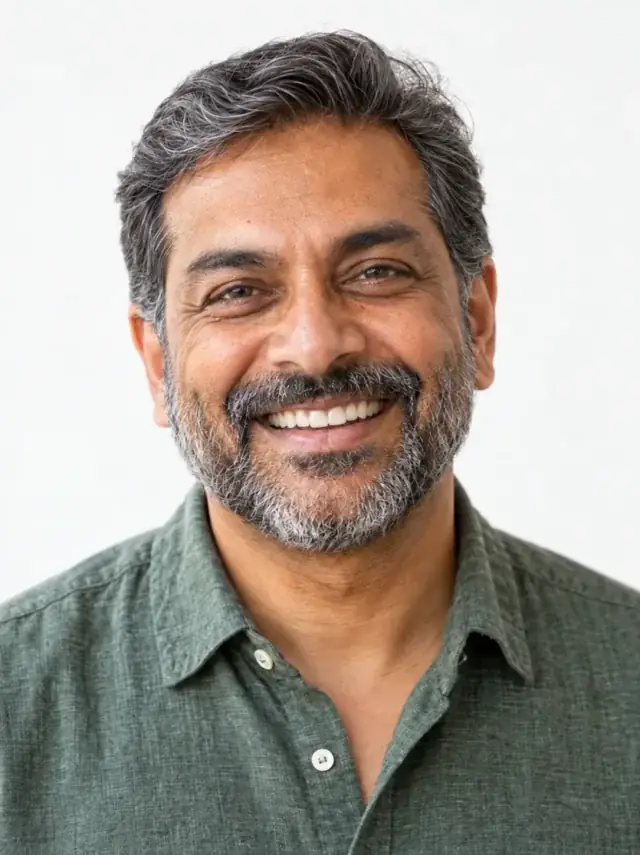
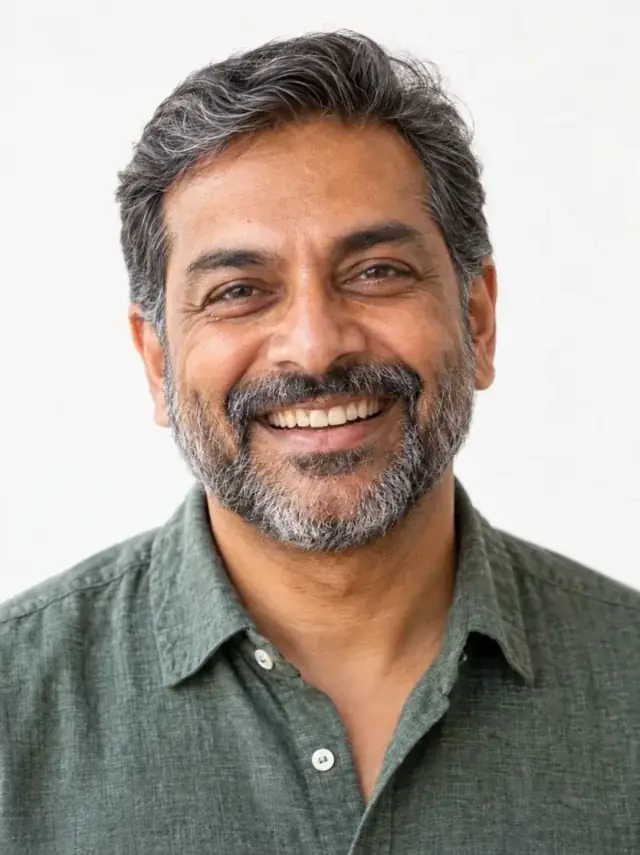
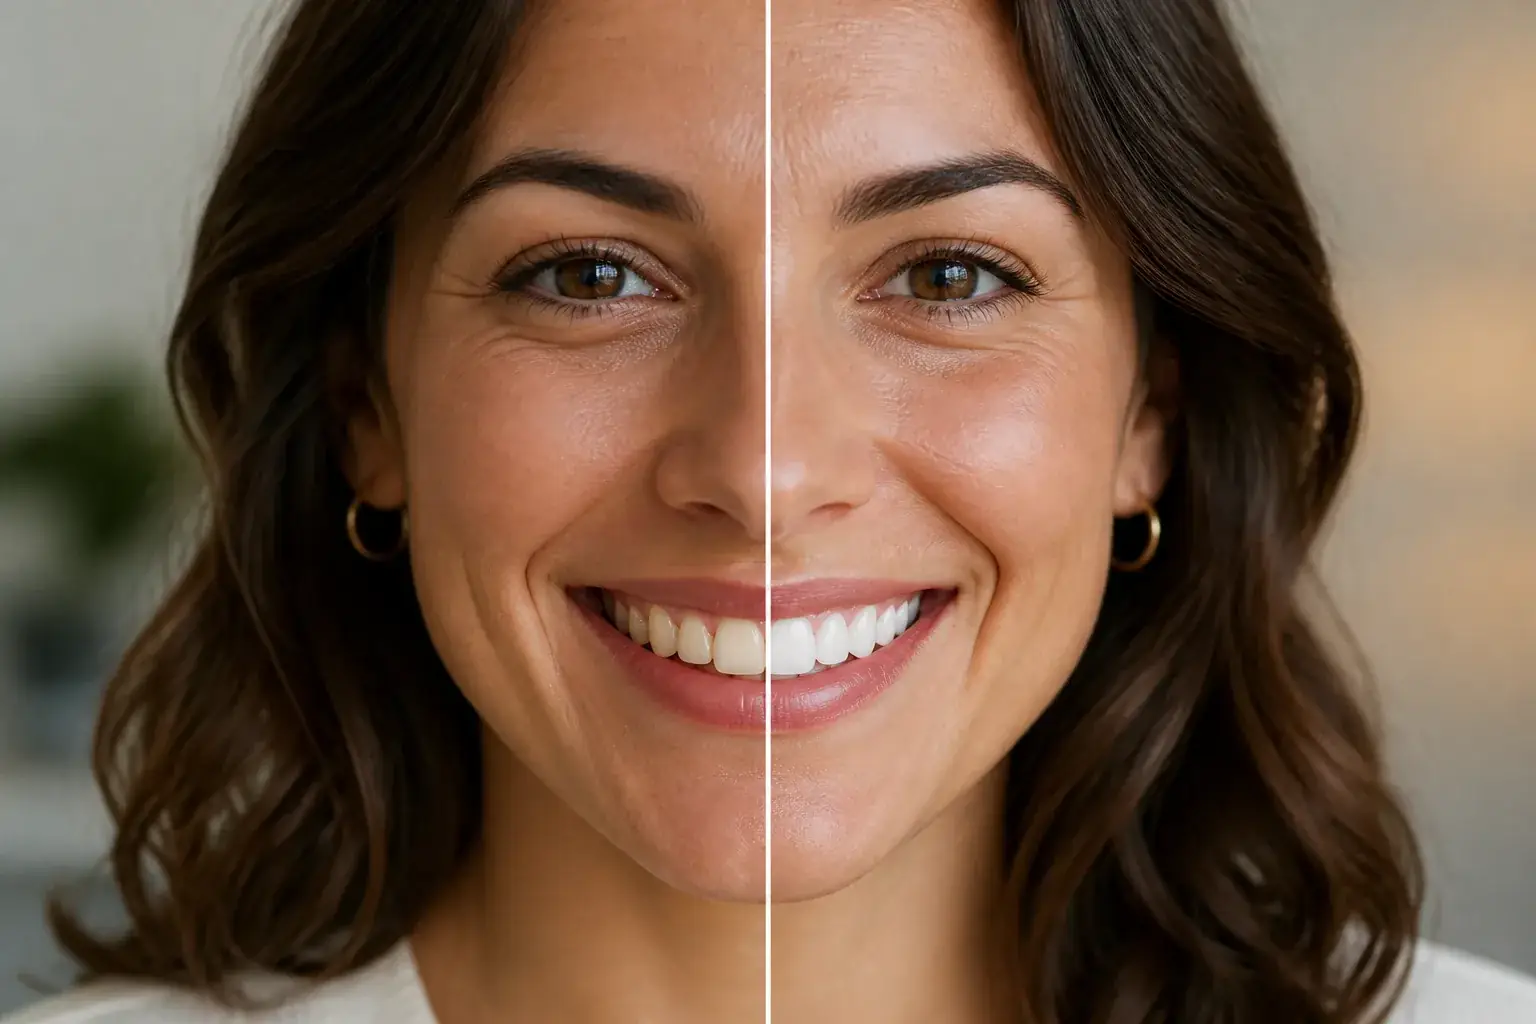 BeforeAfter
A brighter, natural smile
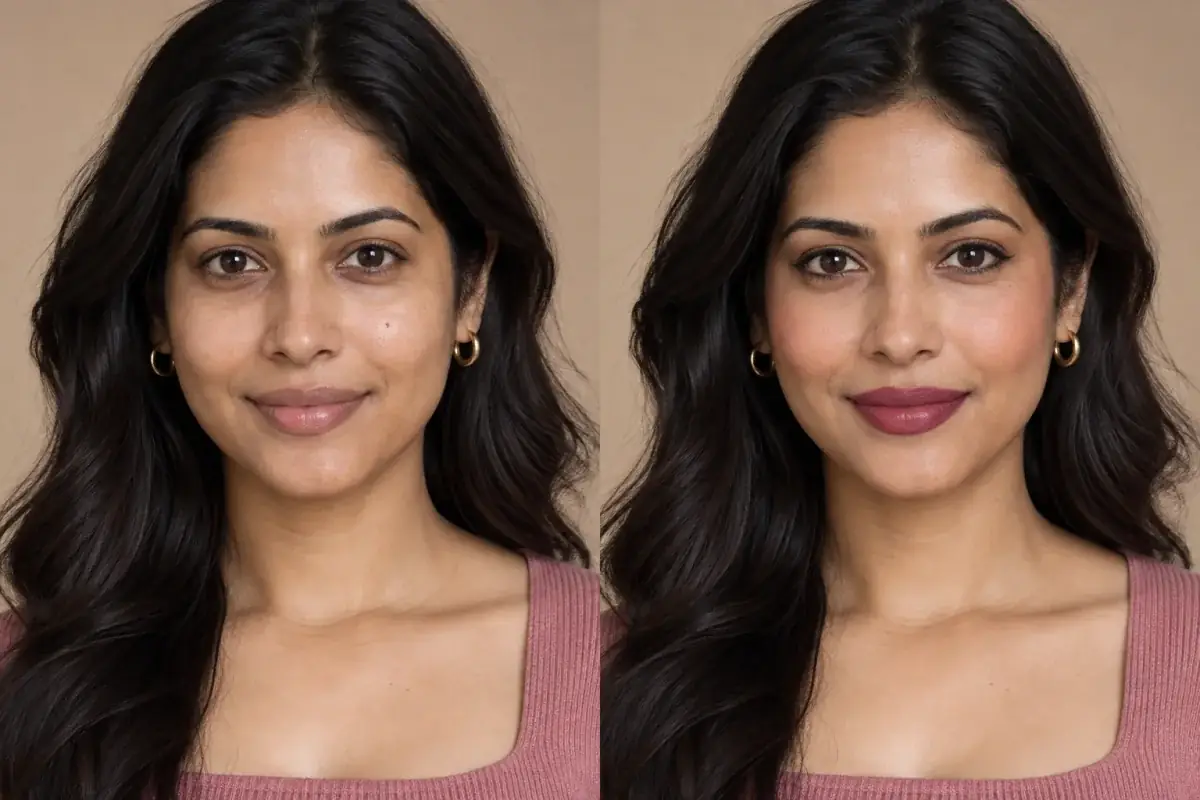
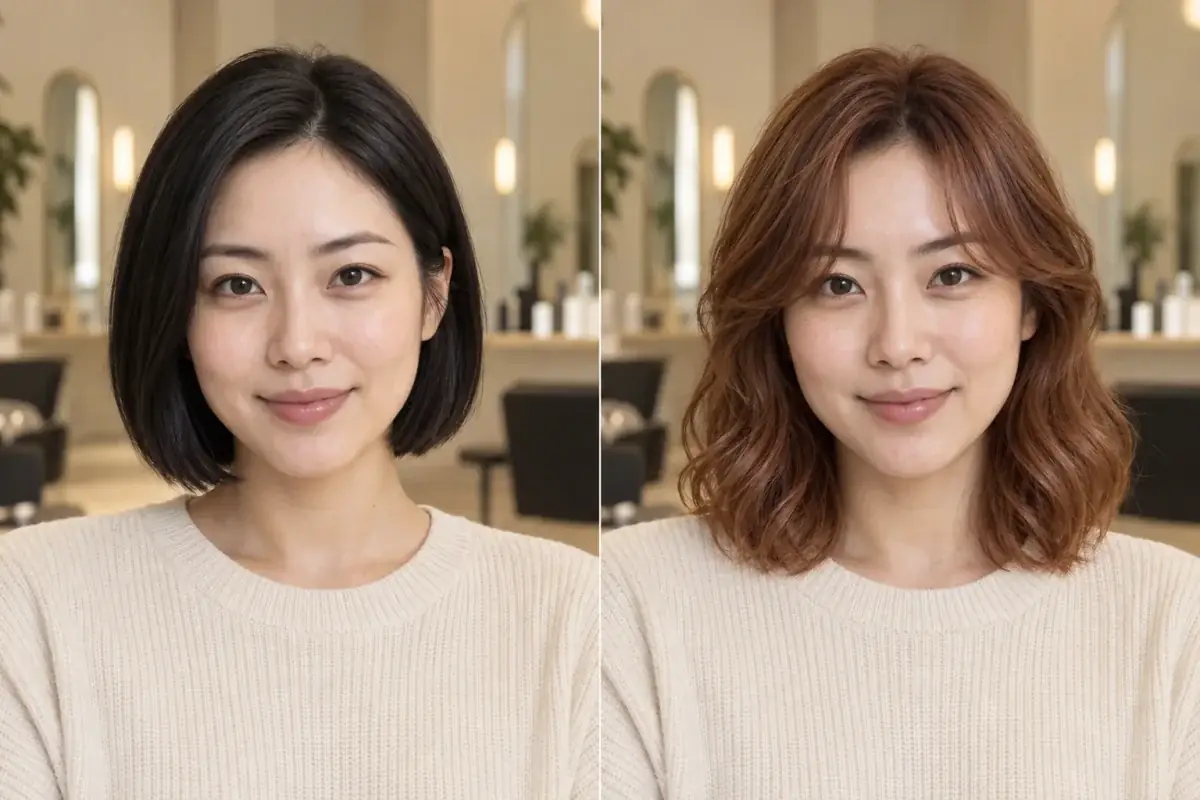
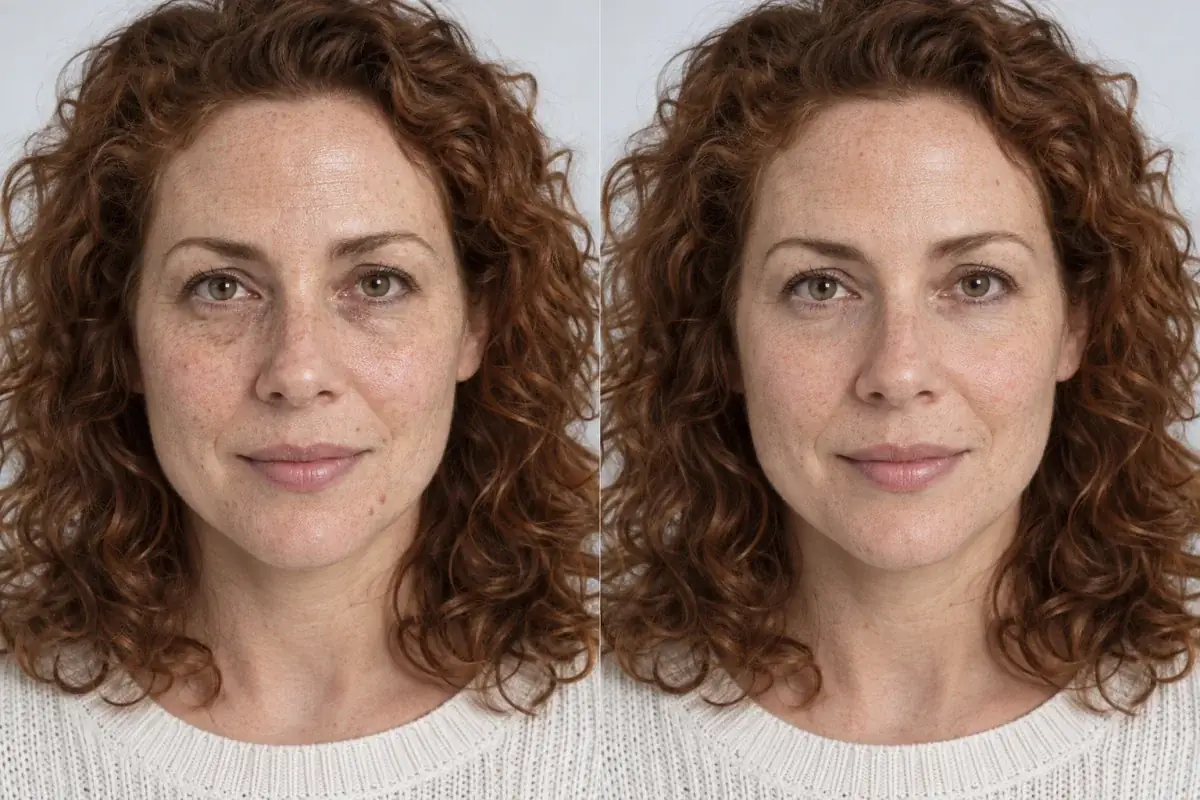
The original stays beside the edit, so you judge the tool on the same person, pose and camera angle.
Try teeth editorHow it works
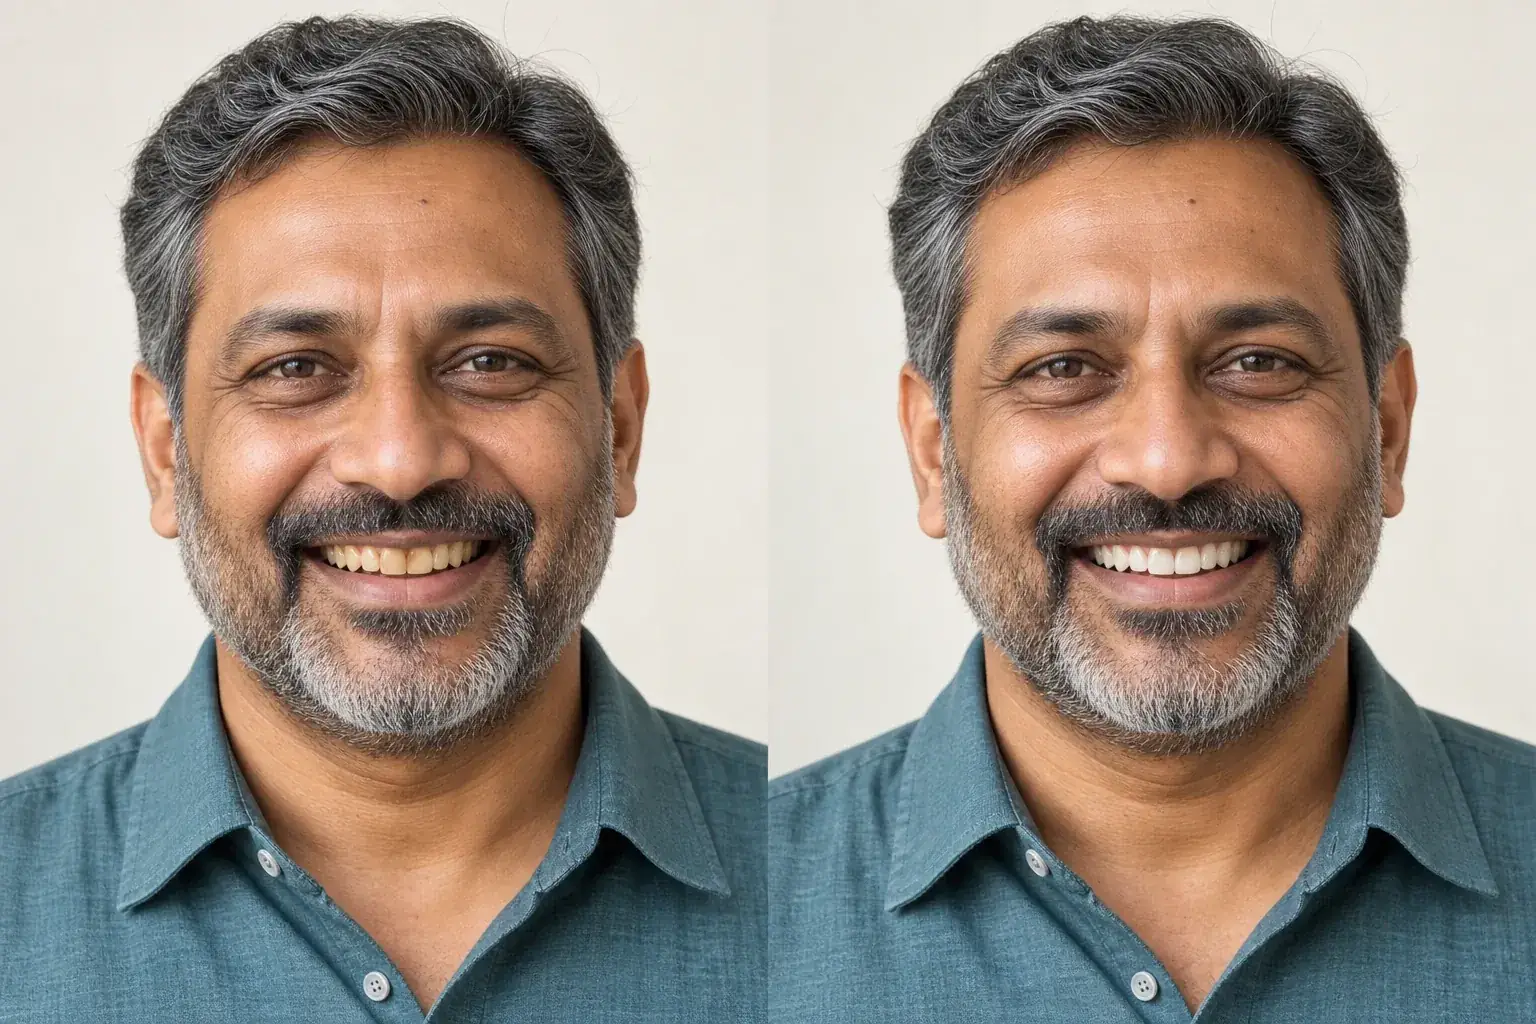
The complete change, shown side by side Add a photo where you are smiling
Anything with teeth visible works. A wide grin gives the most to work with.
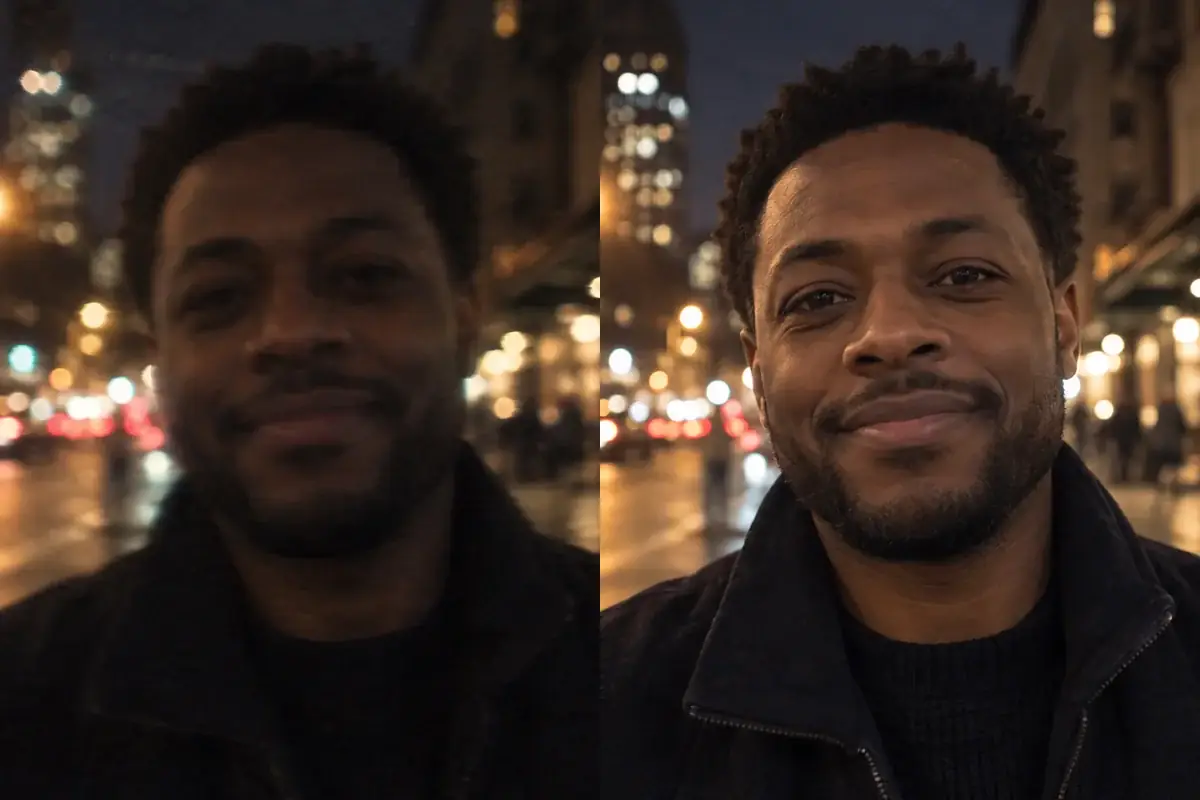
A second result on a different subject Choose whiten, straighten, or both
Whitening keeps tooth texture and shading. Straightening keeps the same tooth count, size and general shape as the original.
- Loading preview…
Before and after teeth naturally whitened and refined Check the edges
Open it full screen. The edit should blend into your lip colour with nothing changed outside the teeth.
A smile that survives a close look
- Teeth whitened with real shading kept, rather than painted over in flat white.
- Straightening that keeps your own tooth count, size and shape.
- Lips, gums and the rest of your face left exactly as they were.
- Edges matched to your skin tone so there is no visible seam.
What actually makes a whitened smile look edited
Whitening teeth in a photo is the easiest retouch there is and one of the easiest to overdo, and the failures are consistent enough to name. Three things give an edit away, and brightness is not really one of them.
- The edit went past the teeth. A brush catches the lower lip or the gum line, leaving a pale patch where there should be pink. It is the most common failure and the most visible, because gum lightened by even a little stops reading as tissue.
- The shading flattened. Teeth are not one colour: they darken towards the gum line and towards the back of the mouth, and the front teeth sit slightly brighter than the ones beside them. Whitening at full strength erases that gradient and the mouth becomes a single white shape.
- The colour went blue rather than bright. Many whitening tools shift towards blue as they lighten. A little reads as clean. More than a little reads as a lit screen inside your mouth, and it fights the warmth of the rest of the face.
Why this is a rule rather than a brush
Most teeth whiteners are brushes. You paint the effect on and set the strength yourself, which gives you real control and asks for a steady hand on a very small area, usually on a phone, which is where the lip and gum mistakes come from.
This works the other way round. The three failures above are written into the instruction before anything is edited: keep realistic tooth texture and subtle shading rather than a flat white overlay, match every edit to the surrounding skin tone and lip colour, and do not alter the lips, gums, face, or any area outside the teeth. There is nothing to steer and nothing to overshoot.
That trade is not always the right one. A brush is better when you want one tooth handled differently from its neighbours, or when you want to push a single dark tooth further than the rest. For the ordinary case (a good photo, a normal smile, teeth a shade or two down from where you would like them), a rule beats a hand.
Straightening is a different, harder edit
Whitening changes colour. Straightening changes shape, and tooth shape carries a surprising amount of identity, which is why a badly straightened smile reads as somebody else's face rather than as a good result.
The constraint that matters is tooth count, size and general shape. Evening out visible misalignment while holding those three is a preview of orthodontic work. Redrawing the teeth as an even row is a different set of teeth, and it is what makes AI smile edits look uncanny.
It will not close a large gap or reshape an individual tooth, and it should not. Both are cosmetic dentistry rather than photo editing, and a photo that promises either is not telling you anything useful about your own mouth.
What decides whether it works on your photo
Teeth occupy a very small number of pixels in almost every photograph, which makes this one of the more resolution-sensitive edits there is. Two photos of the same smile can give completely different results.
- How wide the smile is. A closed-mouth smile gives the tool nothing to work with. A full smile gives it the most.
- How sharp the photo is. If the image is soft, there is not enough edge information to find where a tooth ends and a lip begins, and that is exactly when an edit bleeds.
- How the mouth is lit. Teeth in deep shadow have very little tonal separation, so lifting them tends to flatten them.
- Whether there is hardware. Brackets, retainers and bridges can be read as part of the tooth, which makes straightening unpredictable around them. Whitening alone usually behaves.
Where this struggles
Teeth barely visible
A closed-mouth smile gives almost nothing to work with. The wider the smile, the more reliable the result.
Very heavy staining
Deep intrinsic staining can be lifted a long way, but pushing it to bright white starts to lose the shading that makes teeth read as real. The result is better a shade or two short of perfect.
Braces or visible dental work
Straightening around brackets, retainers or a bridge is unpredictable: the model may treat the hardware as part of the tooth.
Blurry photos
Teeth are small in most photos. If the image is soft, there is not enough edge information to whiten cleanly, and the result bleeds into the lips.
Worth reading first.
The useful context, trade-offs and photo advice, before you spend a credit.
- 01How to whiten teeth: what works and what does notThe two kinds of stain, why only one responds, and the crowns and fillings that never change colour.
- 02How to whiten teeth in a photo, and why it goes wrongThe steps in Facetune, the intensity everyone gets wrong, and the three mistakes that make an edit obvious.
- 03How to take a photo that gives an accurate try-onTeeth are small in most photos, so lighting and resolution decide how clean the result is.
Your photo stays yours.
Uptone edits your own photo rather than generating someone who resembles you. It never scores how you look, never calls a feature a flaw, and every trait it infers stays yours to correct.
Whiten teeth in a photo. Still your smile.
Try it on your own photo and judge the full-size result for yourself.
Try it on a photoSee teeth editor in motion.
The moving cards wipe between a real before and after. The still cards are finished looks, and the full strip scrolls continuously.
Questions, answered.
What this edit changes, what stays fixed, and where the result still depends on your original photo.
01How can I whiten teeth in a photo?
Add a photo where you are smiling and run the teeth tool. It works on the teeth only, so lips, gums and skin are left alone, and the result keeps the texture and slight colour variation real teeth have.
02Is there a free way to whiten teeth in pictures?
Yes. A new account gets a credit a month, which is enough to whiten teeth in one picture and judge the result before paying for anything.
03Do I need to sign up?
You can start without an account and see the preview. Saving the full-resolution download is what needs an account, because the file has to belong to somebody.
04Will my teeth look fake?
The flat-white overlay is the specific failure this is written against. The instruction asks for realistic tooth texture and subtle shading to be preserved, which is what stops a whitened smile reading as a sticker stuck over your mouth.
05Can it fix a gap or crooked teeth?
Straightening evens out visible misalignment while keeping your own tooth count, size and general shape. It is a preview of orthodontic work, not a design tool: it will not close a large gap or reshape individual teeth.
06Will it touch my lips or gums?
No. Lips, gums and everything outside the teeth are explicitly excluded, and the edit is matched to your lip colour and skin tone so there is no visible seam at the edges.
07I have braces or a crown: will it work?
Unreliably. Straightening around brackets, retainers or a bridge is unpredictable, because the model can read the hardware as part of the tooth. Whitening alone usually behaves better in those photos.
08How is this different from brushing it on in Facetune?
Facetune's whitener is a brush: you paint it over the teeth and set the intensity yourself, which gives you control and asks for a steady hand on a very small area. Here the constraints are in the instruction instead: keep the tooth texture, do not touch the lips or gums, match the edges to your skin tone. A brush is better when you want one tooth handled differently. This is better when you want the ordinary result without thinking about the edges.
09How white is too white?
You cannot dial it, and the result deliberately stops short of paper-white: shading is what makes teeth read as real. If a photo comes back further than you wanted, tell us and we will put the credit back.
10What does it cost?
Free to start. You can set it all up before making an account, which is needed only when we make the image. Pro is $11.99 a month or $69.99 a year for a higher limit and the stronger model.
Retouching is one half of what Uptone does. The other is trying a full makeup look on the same photo.
Try a full AI makeup look