
See the shade on your lips before you buy the tube.
A red that looks rich in the tube can pull orange on warm skin, and a nude that flatters a friend can wash you out. Preview the exact shade and finish on your own photo before you spend.
Try lipstick
 BeforeAfter
Wearable colour and placement
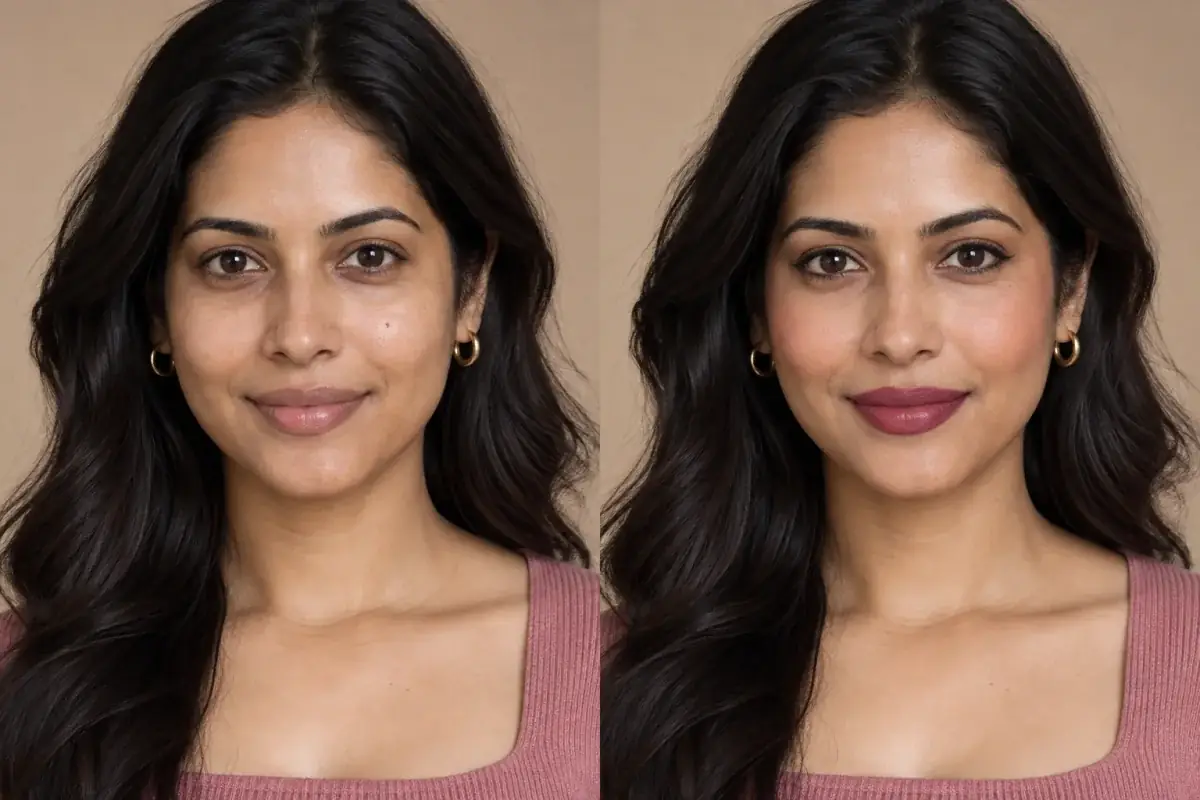
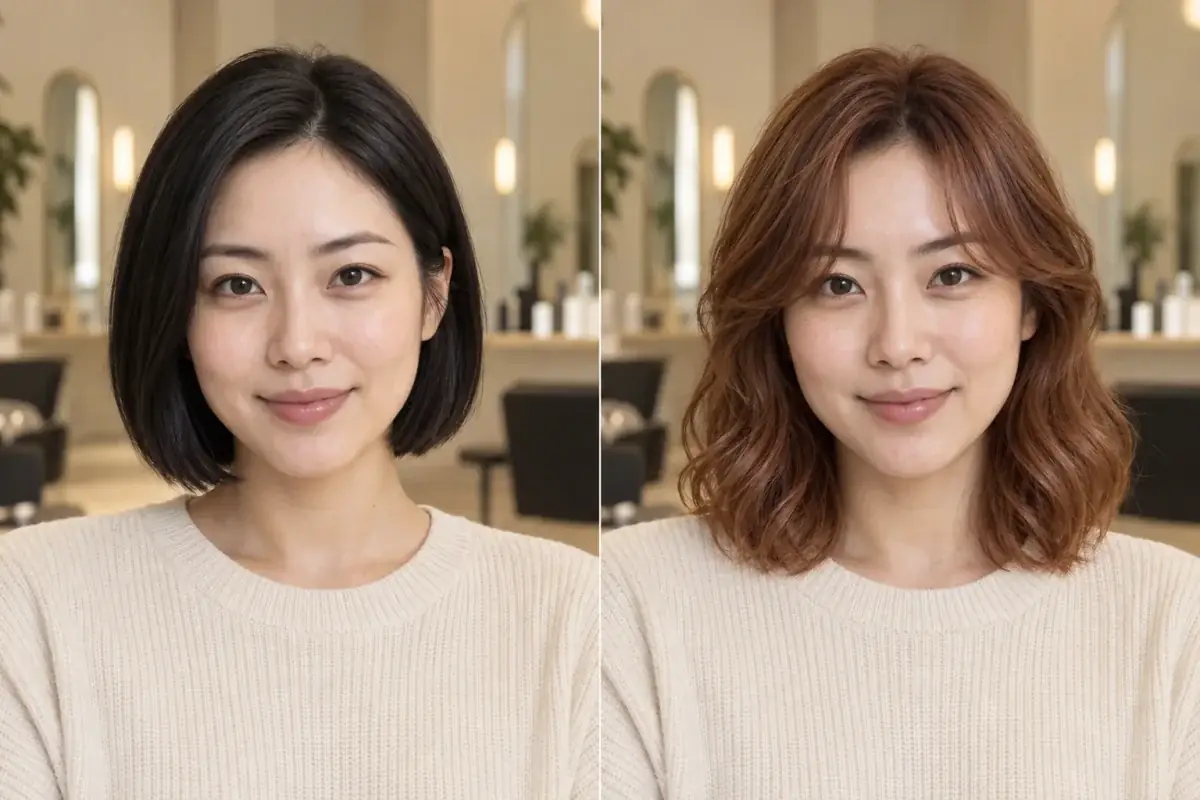
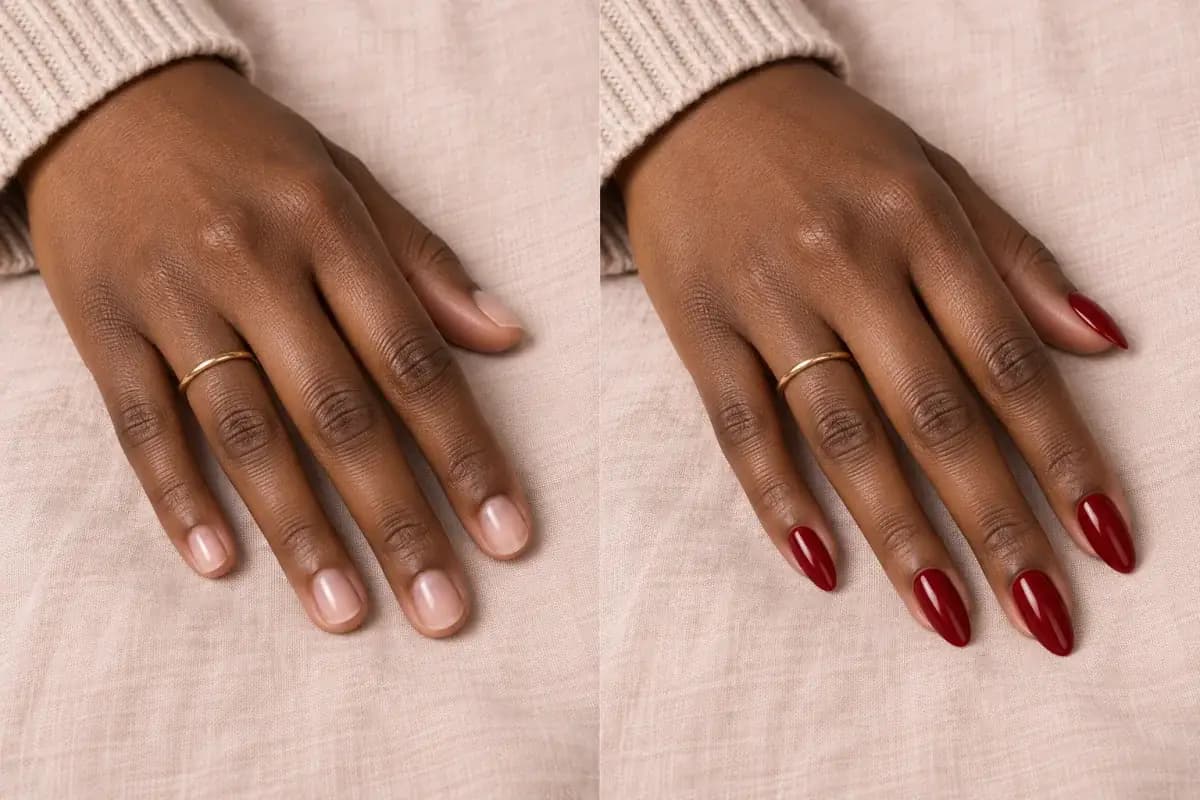
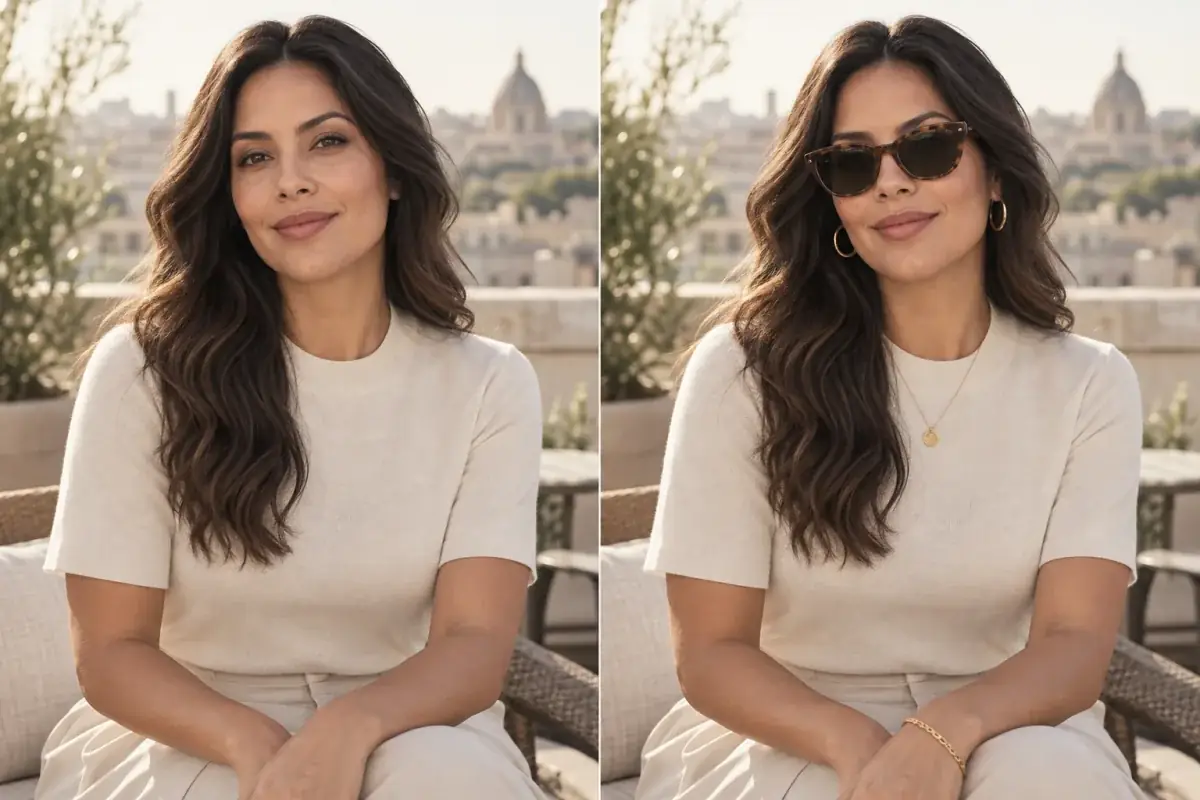
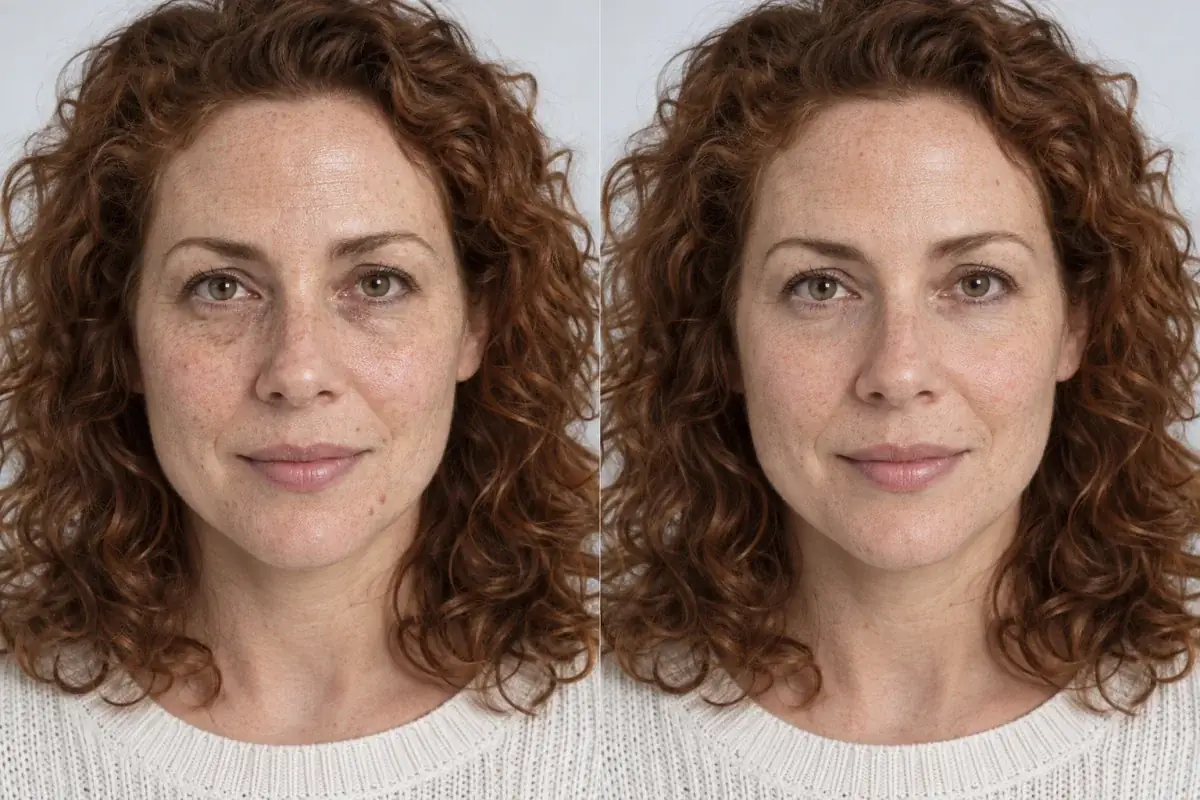
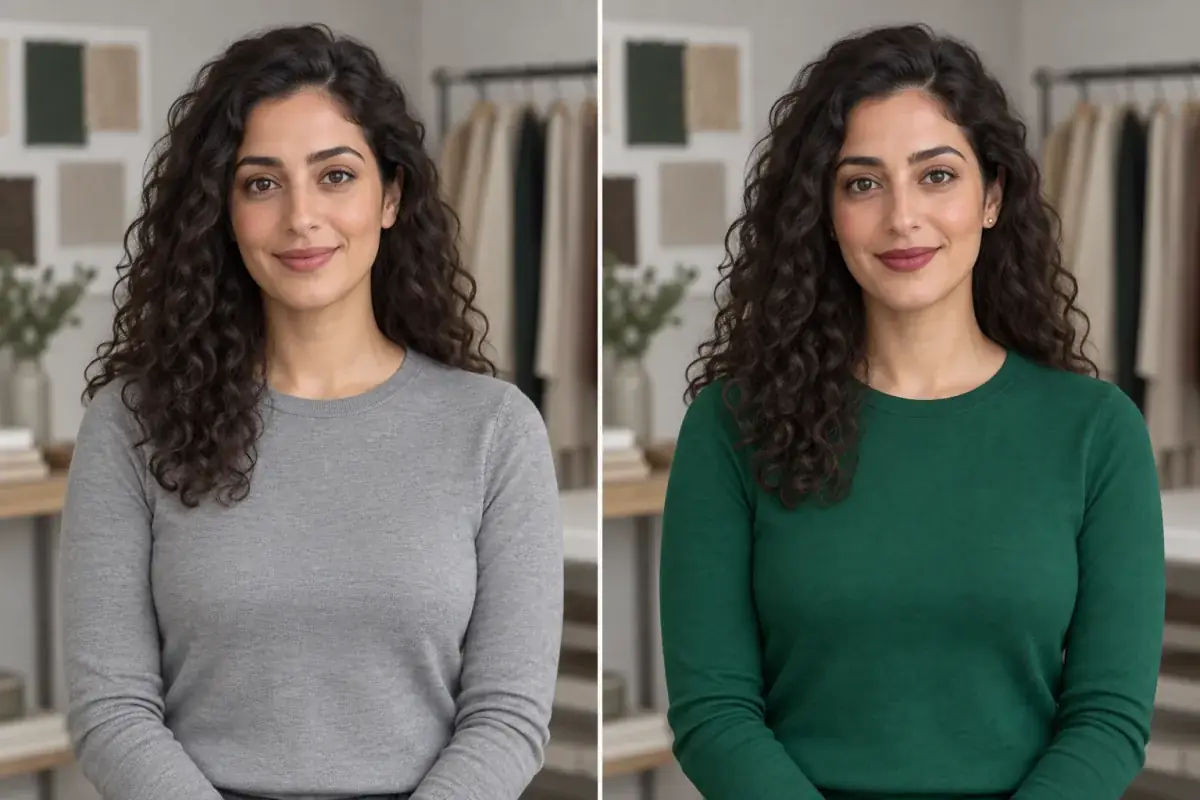
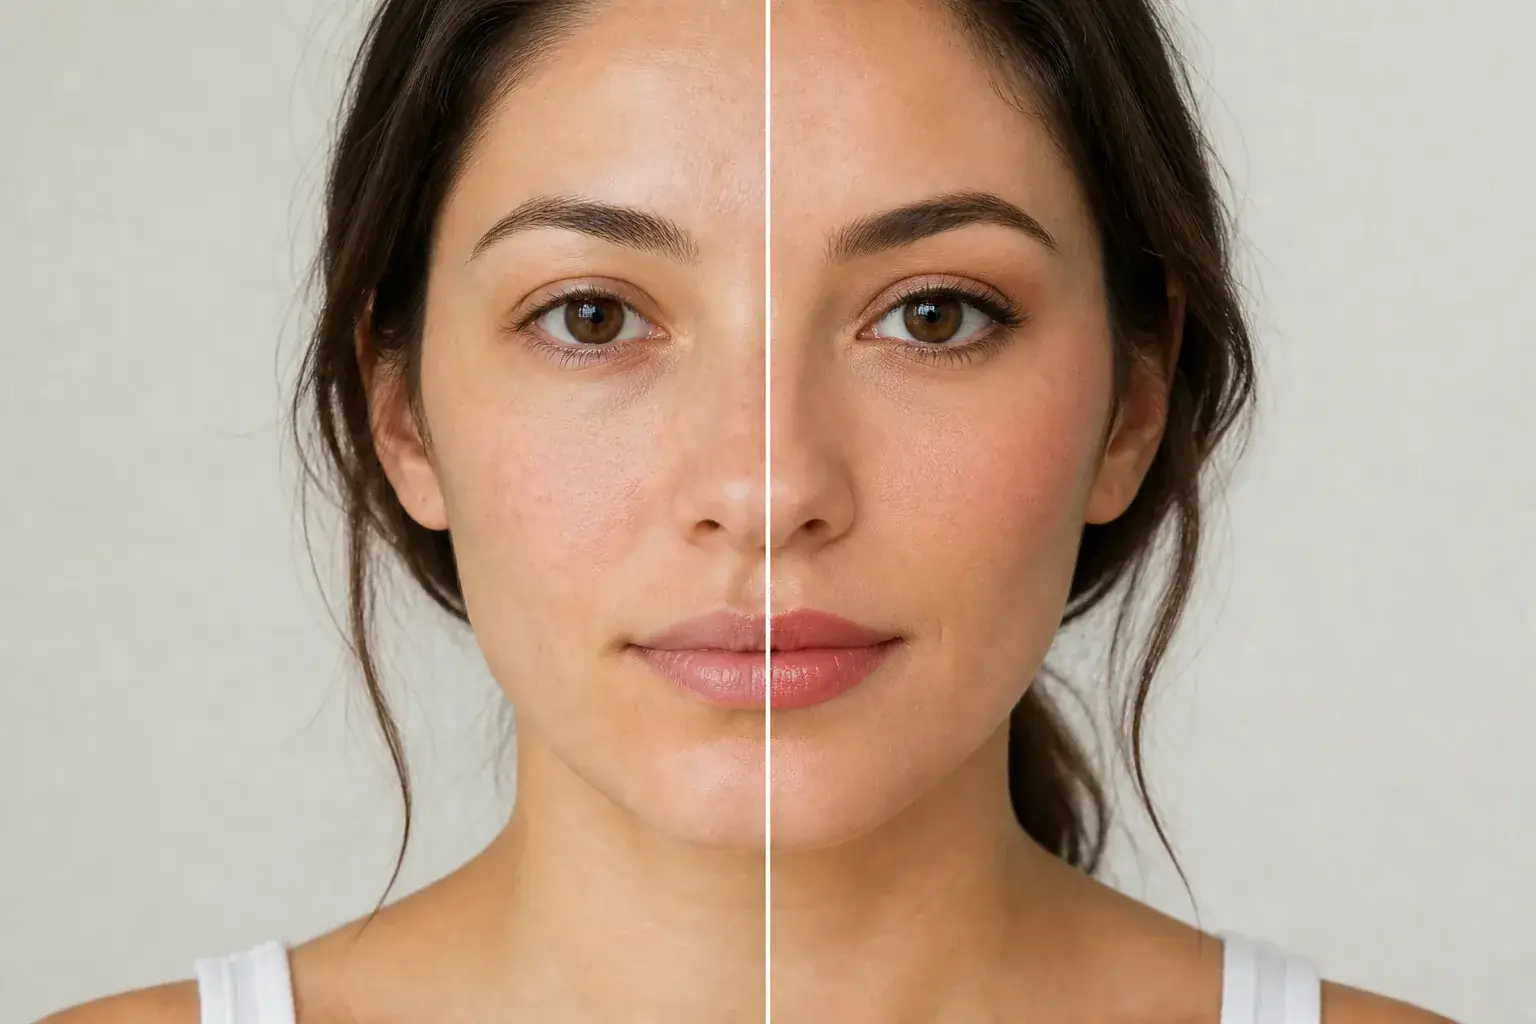
The original stays beside the edit, so you judge the tool on the same person, pose and camera angle.
Try makeup editorSee lipstick in motion.
The moving cards wipe between a real before and after. The still cards are finished looks, and the full strip scrolls continuously.
How it works
- Loading preview…
The adapted result, with your identity held steady Add your photo
Upload a clear, front facing photo with your lips visible, ideally with no lipstick on. Bare lips matter: your natural lip colour sits under every real lipstick, and it shifts every shade you try.
- Loading preview…
A reference you can actually take to a professional Name the shade and finish
Describe the lipstick as precisely as you can: the shade name or colour, plus the finish, matte, satin, gloss or sheer tint. Torn between two nudes, or between a safe shade and a bold one? Run both.
- Loading preview…
A clear before-and-after preview on you Compare on your own face
Set the preview beside your original and look at your whole face, not just your mouth. Does the shade fight your skin tone, or does it need more eye makeup than you would actually wear? Save the version you would buy.
A lipstick reference that is actually yours
- The shade and finish on your own lips, against your own skin tone and colouring.
- A side by side with your untouched photo, so the only thing that changes is the lipstick.
- The same colour in a second finish, so you can see how much is shade and how much is shine.
- A saved result with the shade and finish noted, ready to check against a product page or a counter swatch.
The shade is only half of it
Most lipstick regrets are not about the colour family. They are about depth and finish. Matte makes a shade look deeper and flatter than the same colour in a satin or gloss. Uptone puts the shade on your actual face, with your own lip colour, features and colouring around it, so you judge the combination you will really wear.
Where this struggles
Finish does not fully survive a screen
The preview shows colour and shine level honestly, but not texture. A matte that looks smooth here can still settle into lip lines, and no preview can tell you how a gloss feels. Use it to decide colour, not comfort.
Screens and lip colour both shift shades
Display settings warm or cool a shade slightly, and the pigment of your own lips shifts it again. If a preview lands between two shades, treat it as a strong steer rather than a guarantee, and swatch in daylight if you can.
Your photo stays yours.
Uptone edits your own photo rather than replacing you with a generic model. It never rates your appearance, and you can delete your photos whenever you choose.
Questions people ask
- Can I test a bold red before buying one?
- Yes, and bold shades are the best reason to. Most abandoned reds are not the wrong colour; they are the wrong undertone. Preview the red, then try it a step deeper or with a bluer base, and buy the version that leaves your skin looking clear.
- Will I see the difference between matte and gloss in the same shade?
- You will see how much deeper and flatter the matte reads, and how much lighter the gloss looks. What you cannot judge is wear time, bleeding or feel. Pick the shade and finish here, then judge the formula from a tester or reviews.
- How many shades can I try before I decide?
- The first look is free. Pro is $11.99 a month for 120 previews, so a shortlist of six shades in two finishes each uses twelve and leaves the rest of the month for everything else.
Retouching is one half of what Uptone does. The other is trying a full makeup look on the same photo.
Try a full AI makeup look