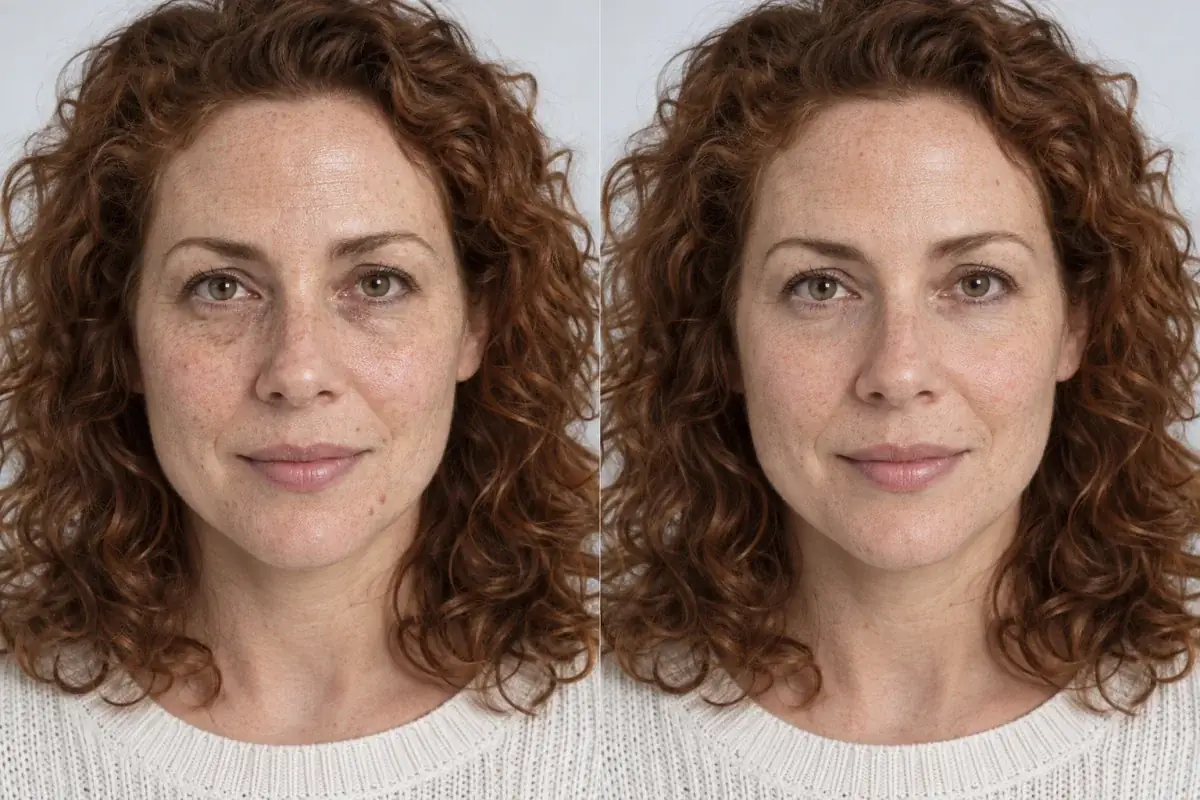
Rescue a photo shot too dark.
Makes the light more direct and the image brighter overall, while keeping it natural rather than overexposed.
Brighten a photo
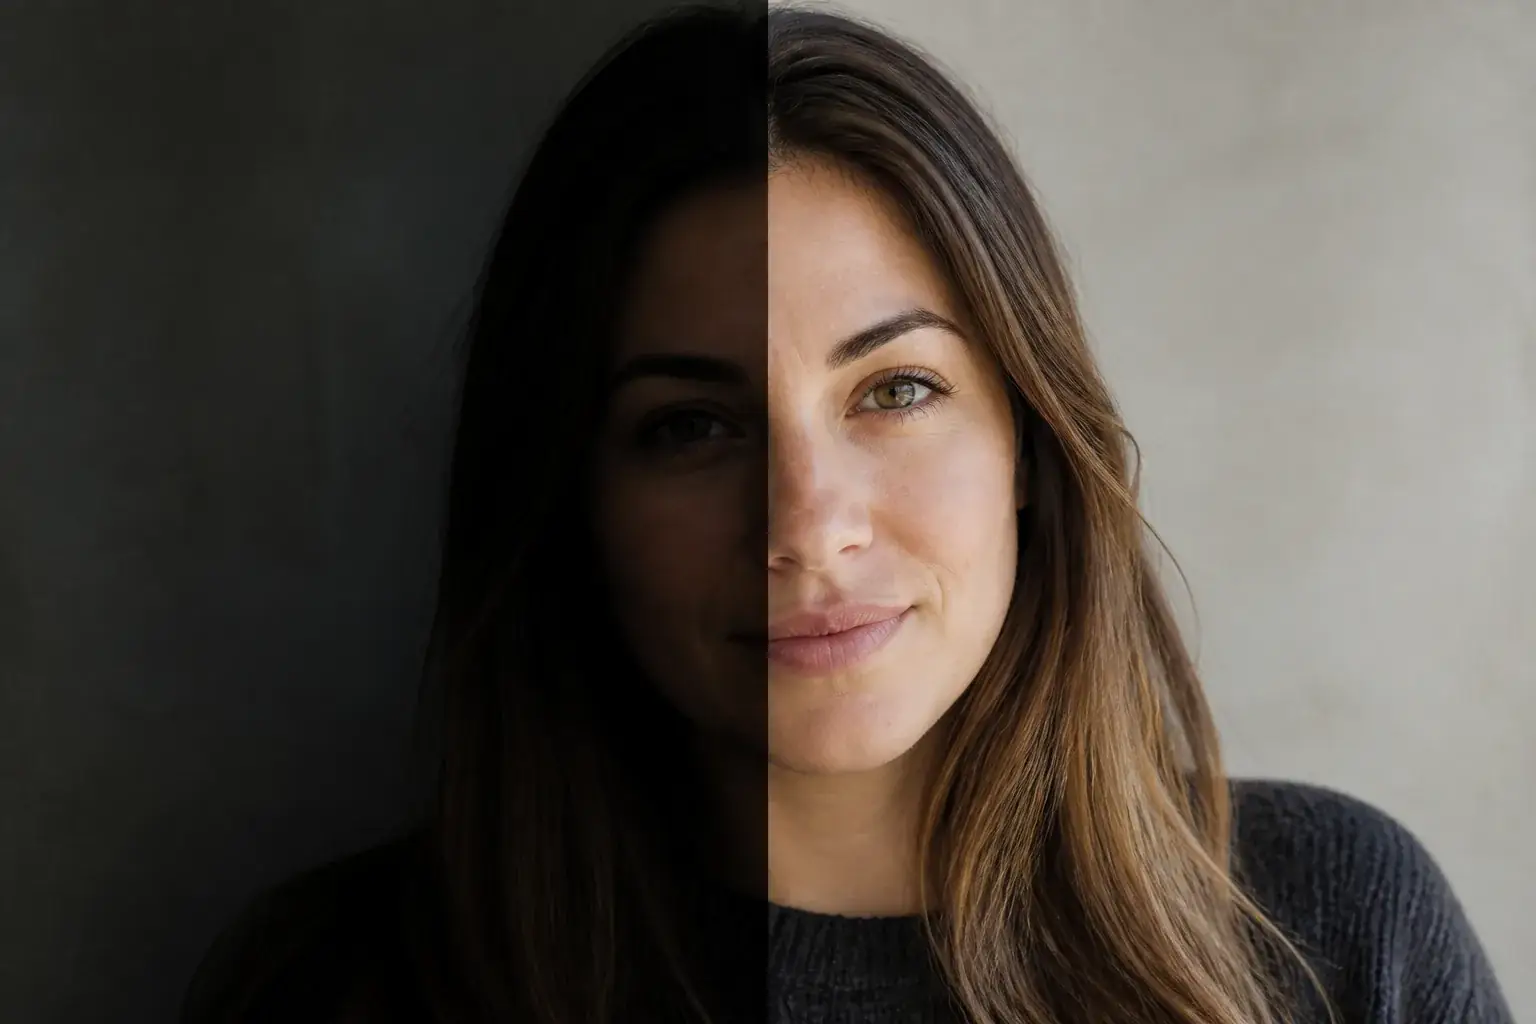 BeforeAfter
Recover a dark portrait
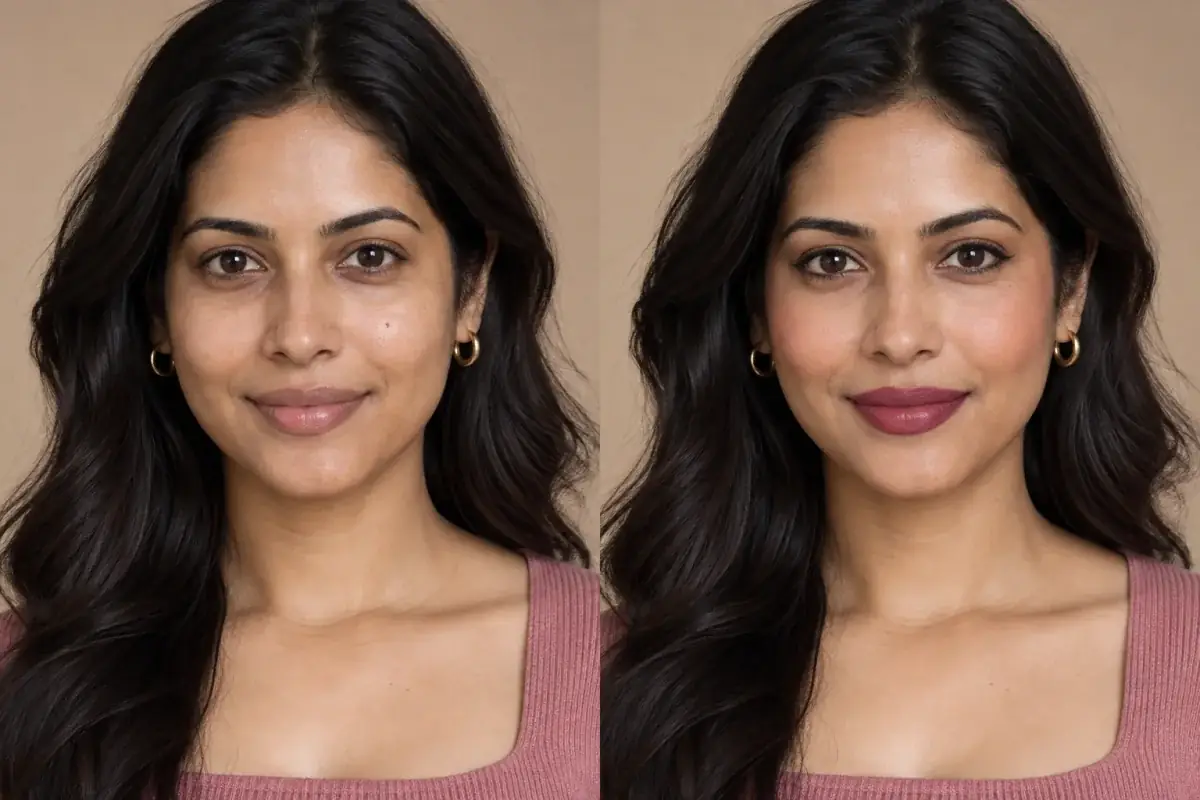
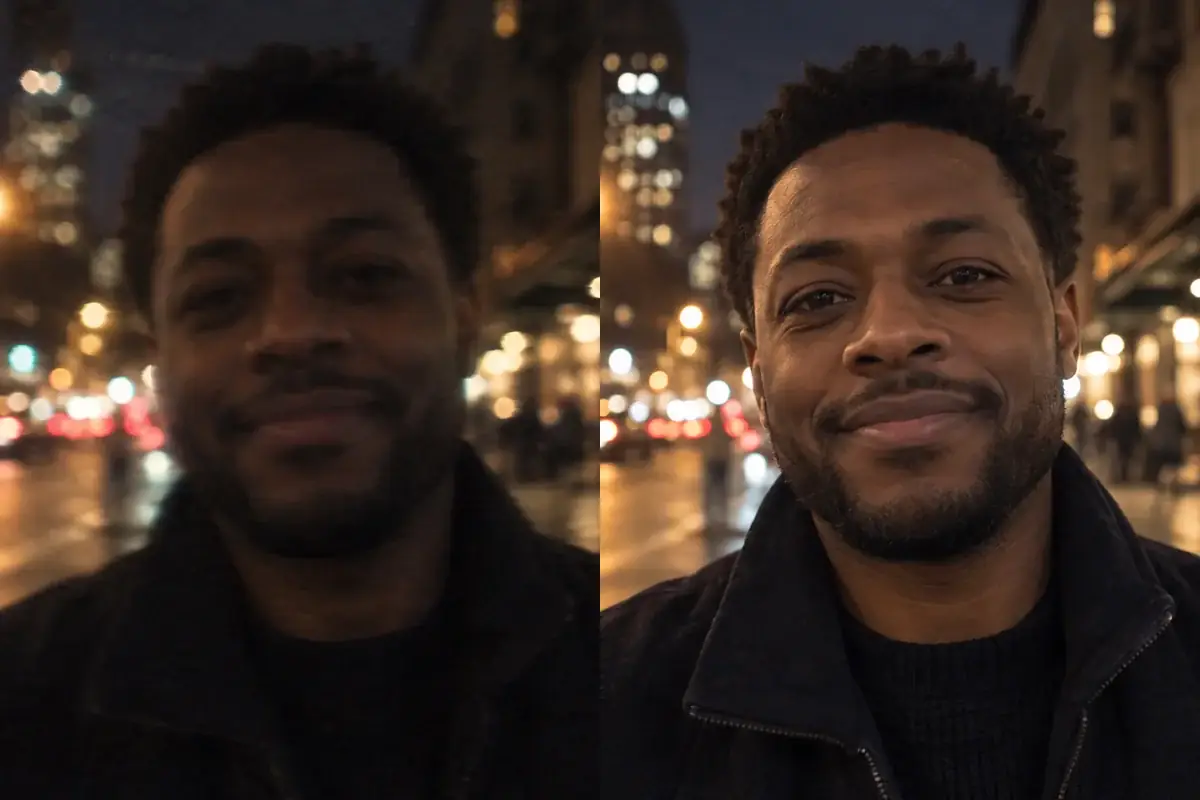
The original stays beside the edit, so you judge the tool on the same person, pose and camera angle.
Try photo brightenerHow it works
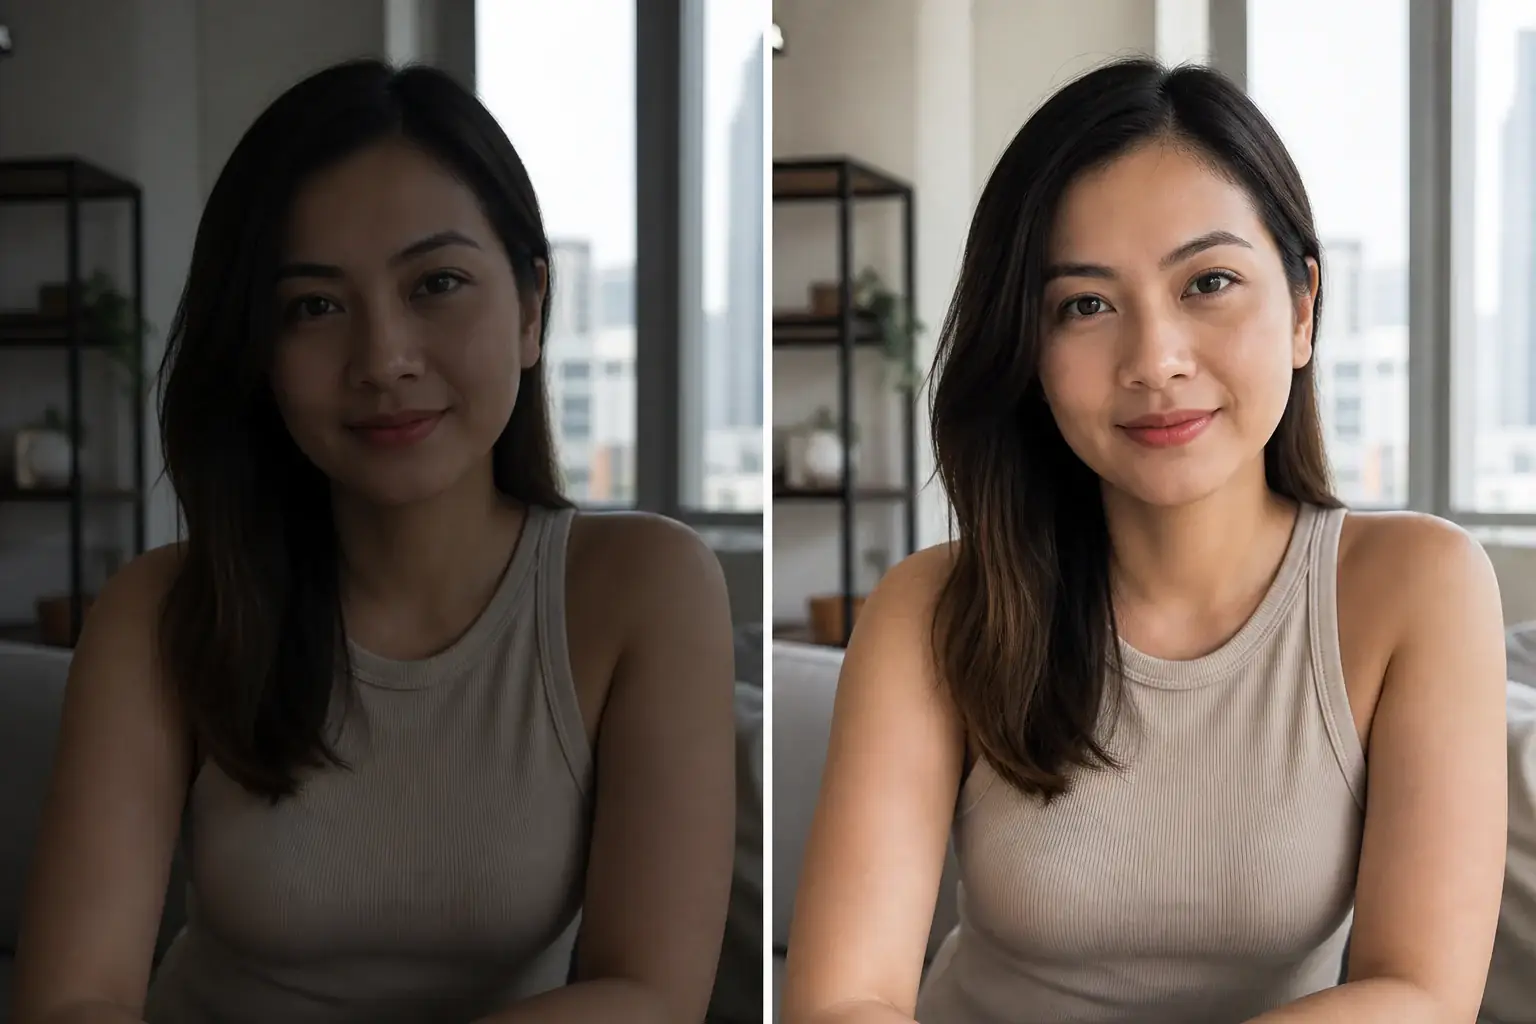
The complete change, shown side by side Add the dark photo
Indoor, evening, backlit: the ones where you can barely see the subject.
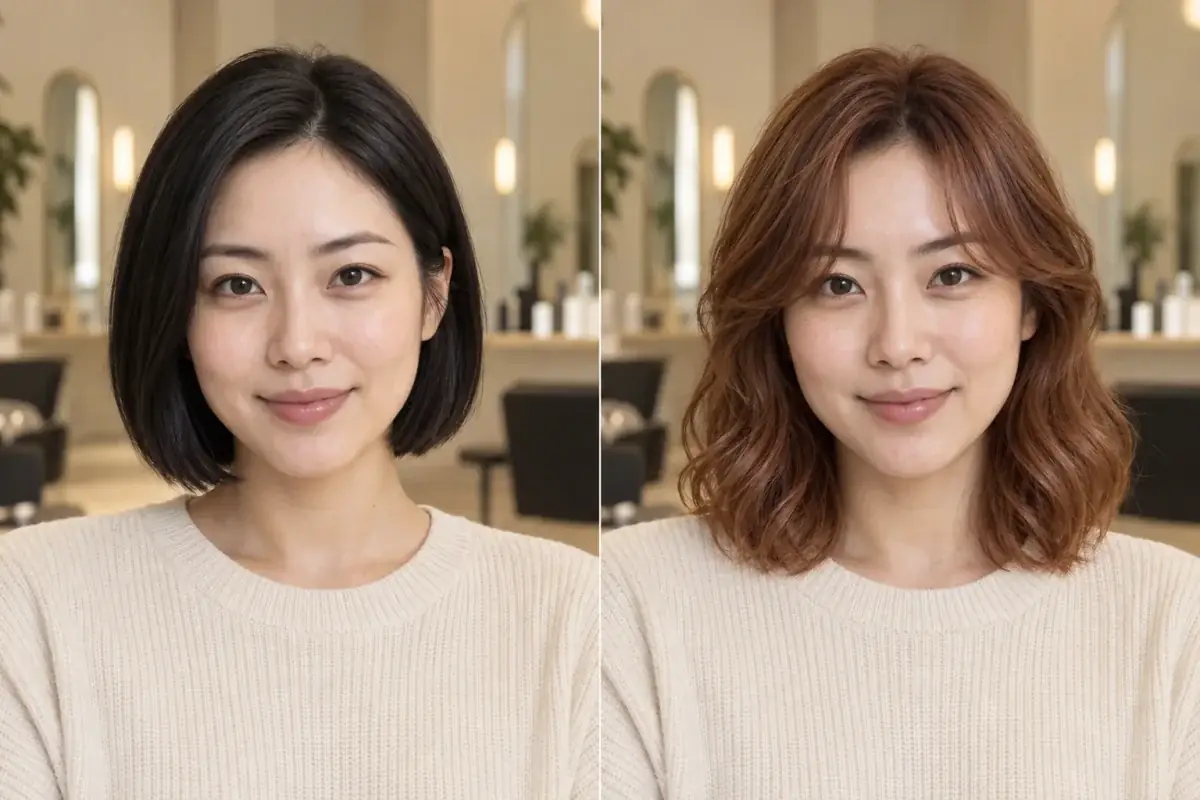
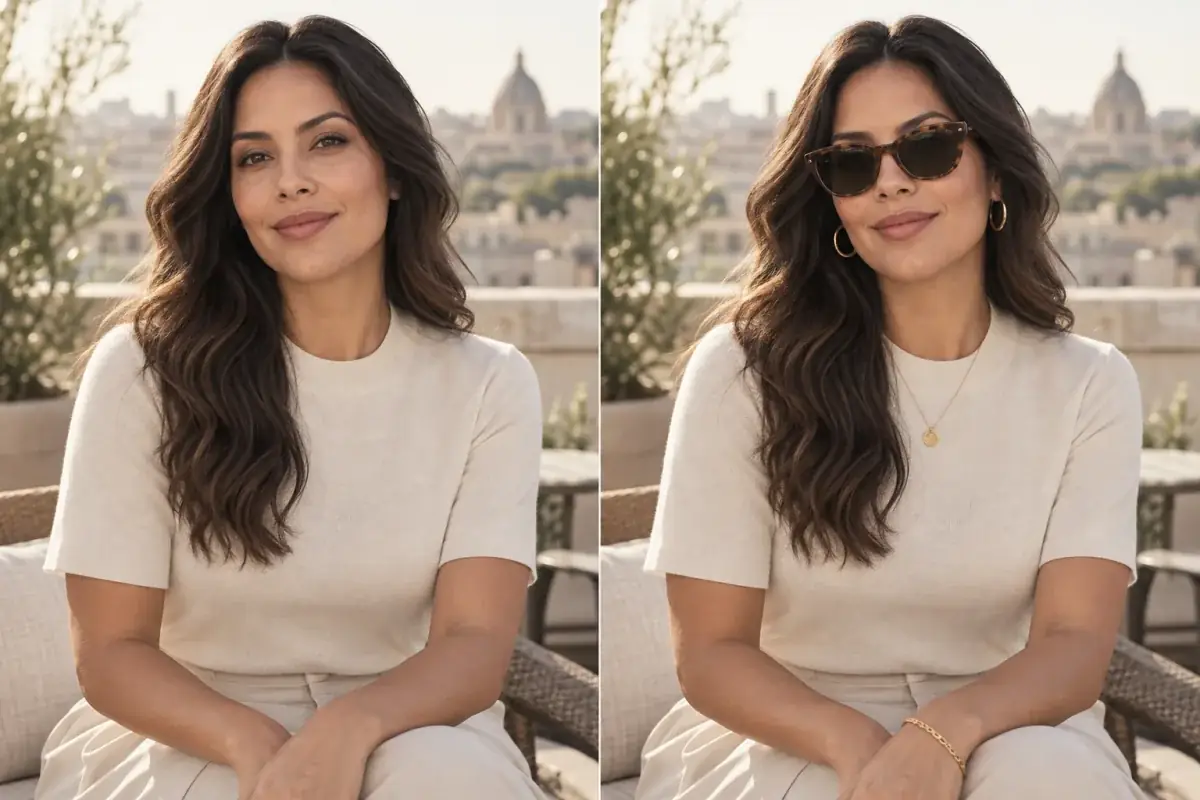
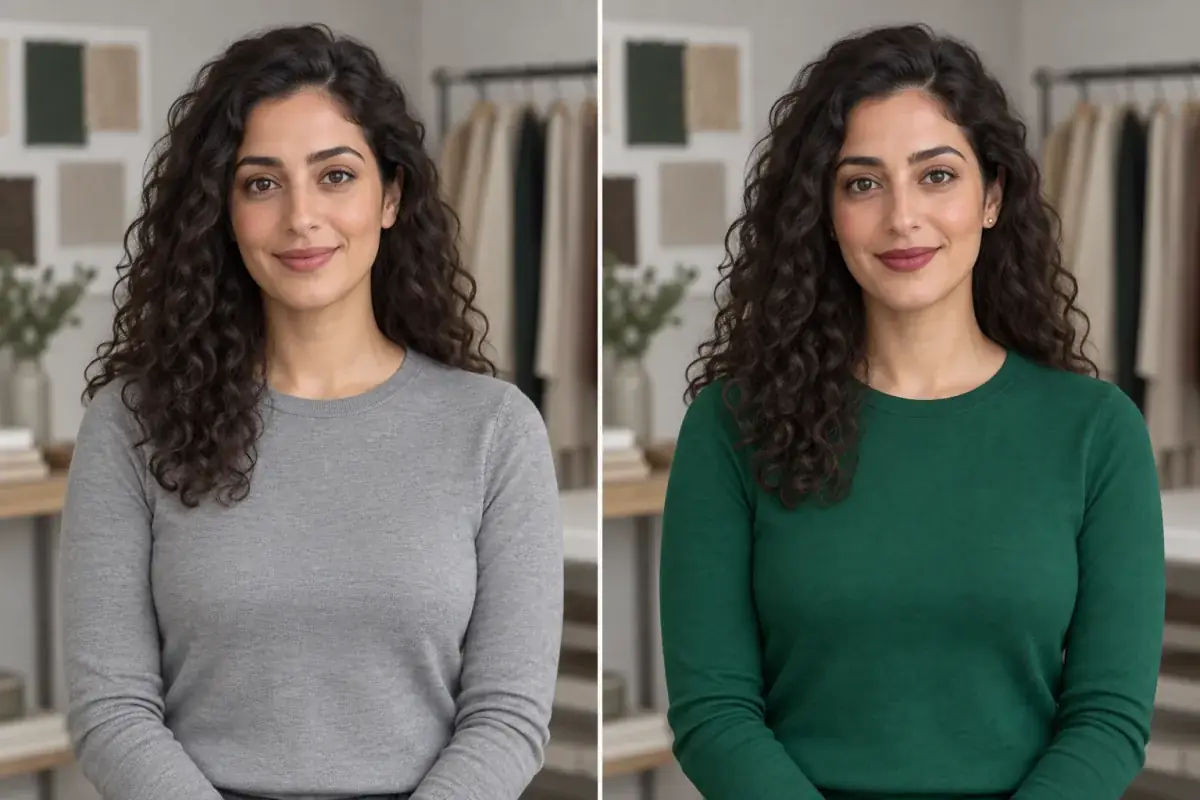
A second result on a different subject We lift the light, not the exposure slider
The instruction asks for more direct lighting and a brighter image while explicitly refusing to overexpose it.
- Loading preview…
Before and after an underexposed portrait naturally brightened Colours stay where they were
The subject, pose, composition and colours are preserved. Only the light changes.
A usable photo out of an unusable one
- More direct lighting across the subject.
- Brighter overall without blown-out highlights.
- Natural-looking light rather than a lifted-shadows look.
- Composition, pose and colour untouched.
Why raising the brightness slider does not work
A brightness slider adds the same amount of light to every pixel. The photo gets lighter, and nothing in it gets clearer, because the relationship between the dark parts and the light parts is untouched: a face that was a flat dark shape becomes a flat grey shape.
The other thing a slider does is lift the noise with the signal. Dark areas of a photograph carry the most sensor noise, so brightening them evenly brings up grain and colour blotches at exactly the same rate as the detail you wanted, and the result reads as a cheap photo rather than a well-lit one.
What actually helps is relighting: making the light read as more direct on the subject, so the shadows have somewhere to fall and the face regains shape. That is a different operation from adding a constant, and it is what this does.
Where a dark image is genuinely unrecoverable
This is worth knowing before you spend anything, because the answer depends on what the camera actually recorded rather than on how dark the picture looks.
- Underexposed but complete. A photo that looks dark on screen often holds plenty of detail in the shadows, especially from a recent phone. These recover well and are the common case.
- Clipped to black. If an area recorded no light at all, there is nothing there to lift, and anything that appears is invented. A silhouette against a bright window is the usual version of this.
- Blown highlights. The opposite problem, and irreversible in the same way. Brightening a photo with an already-white sky pushes more of it to white.
- Very high ISO. The detail and the noise are the same size, so lifting one lifts the other. The result is better than the original and will not look like a well-lit shot.
What is held while the light changes
The risk in any brightening pass is that it quietly becomes a beauty filter: lifting a face usually means smoothing it, and smoothing is what makes a photo look processed.
The instruction here asks for the lighting to be more direct and the image brighter overall while remaining natural and not overexposed, and nothing else. Features, skin tone and hairstyle are not the subject of the edit.
If a photo needs both, the order matters: brighten first, then restore texture. Doing it the other way round means the texture pass works on detail that is still sitting in shadow.
Where this struggles
Nearly black photos
If the subject is barely present in the file, brightening reveals noise rather than a face. There has to be something under the dark.
Blown highlights stay blown
Detail lost to overexposure is not recoverable: those pixels are pure white and hold nothing. This lifts shadows, it does not rebuild clipped areas.
Strong colour casts
A heavy orange or green cast from indoor lighting survives brightening. The lighting editor handles temperature; this one handles level.
Backlit silhouettes
A subject against a bright window is a hard case: lifting them often lifts the window too, and the result can look flat.
Worth reading first.
The useful context, trade-offs and photo advice, before you spend a credit.
Your photo stays yours.
Uptone edits your own photo rather than generating someone who resembles you. It never scores how you look, never calls a feature a flaw, and every trait it infers stays yours to correct.
Rescue a photo shot too dark.
Try it on your own photo and judge the full-size result for yourself.
Brighten a photoSee photo brightener in motion.
The moving cards wipe between a real before and after. The still cards are finished looks, and the full strip scrolls continuously.
Questions, answered.
What this edit changes, what stays fixed, and where the result still depends on your original photo.
01Is this just raising the brightness?
No. Raising brightness lifts everything equally and turns dark areas grey. This makes the light more direct, so the subject reads as being lit rather than as having had a slider dragged across it.
02Will it look overexposed?
It is explicitly told not to. Keeping the lighting natural and refusing to overexpose is stated in the instruction, because a blown-out rescue is worse than the dark original.
03Can it recover a blown-out photo?
No, and nothing can. Overexposed pixels are pure white and hold no information to bring back. This lifts shadows; it cannot rebuild highlights that were never recorded.
04My photo has an orange cast from indoor lighting.
Brightening will not remove that: a colour cast is a temperature problem, not a level one. The lighting editor is the tool for temperature, and running this first often makes the cast more obvious rather than less.
05What about a backlit photo?
One of the harder cases. Lifting a subject in front of a bright window tends to lift the window too, so the result can look flat. It is usually still an improvement, just not a dramatic one.
06Does it change the colours?
The subject, pose, composition and colours are preserved. Only the light changes, which is what keeps it looking like the same photograph.
Retouching is one half of what Uptone does. The other is trying a full makeup look on the same photo.
Try a full AI makeup look