How to take a photo that gives you an accurate try-on
Most disappointing virtual try-ons are disappointing because of the photo, not the tool. Four things account for nearly all of it.
Light is the whole game
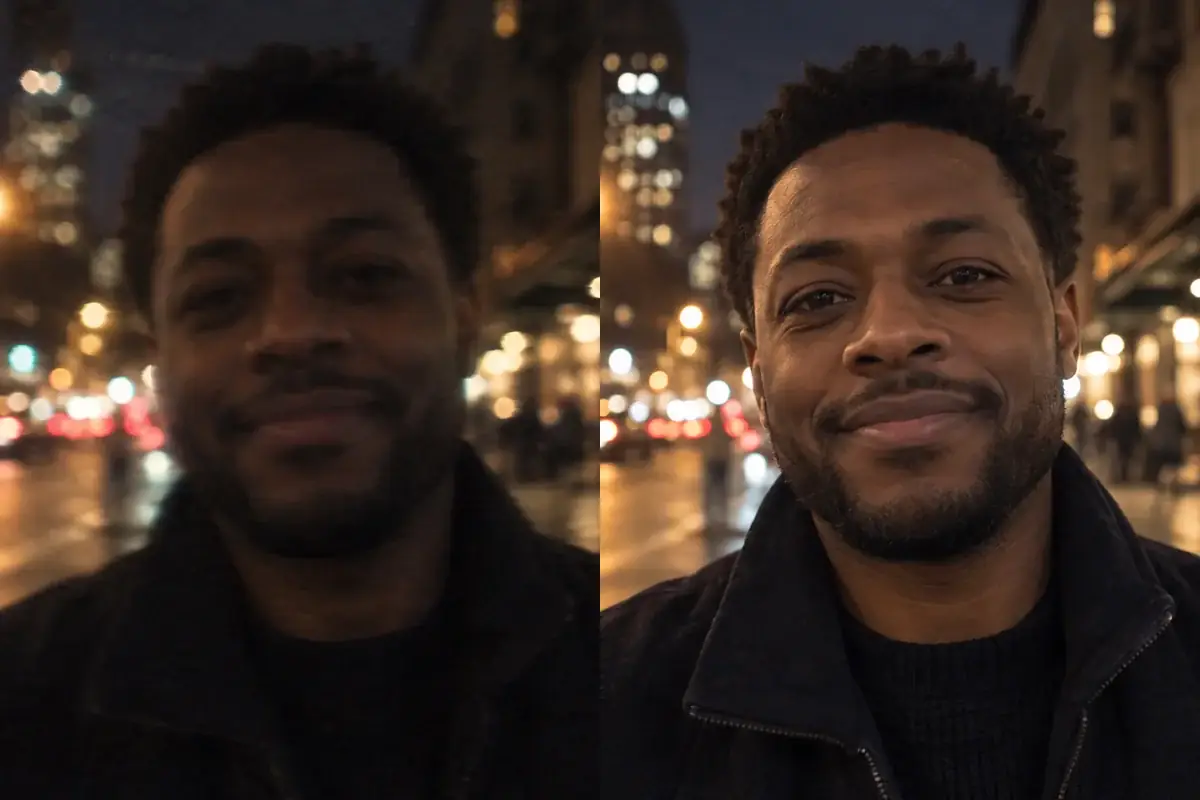
Every shade decision a try-on makes is a colour judgement, and colour judgements inherit the colour of the light they are made in. A warm bulb pushes everything golden and any tool reading your skin under one will read you warmer than you are. That error then propagates into every shade it suggests.
The best available light is free: face a window, in daylight, not in direct sun. Direct sun creates hard shadows and blown-out highlights, and both remove the information a tool needs to read skin.
The worst is a mix: a warm lamp on one side and daylight on the other. Your face ends up two different colours and there is no correct answer for the tool to find. If you can only get artificial light, turn off everything except one source rather than adding more.
- Best: daylight from a window, facing it, no direct sun.
- Good: an overcast day outdoors, which is a giant softbox.
- Workable: one neutral bulb, straight on, nothing else lit.
- Avoid: overhead-only lighting, which shadows the eyes; mixed sources; and coloured walls close enough to bounce their colour onto you.
Filters you did not know were on
This is the most common invisible problem, because the filter is doing exactly what it was designed to do: go unnoticed.
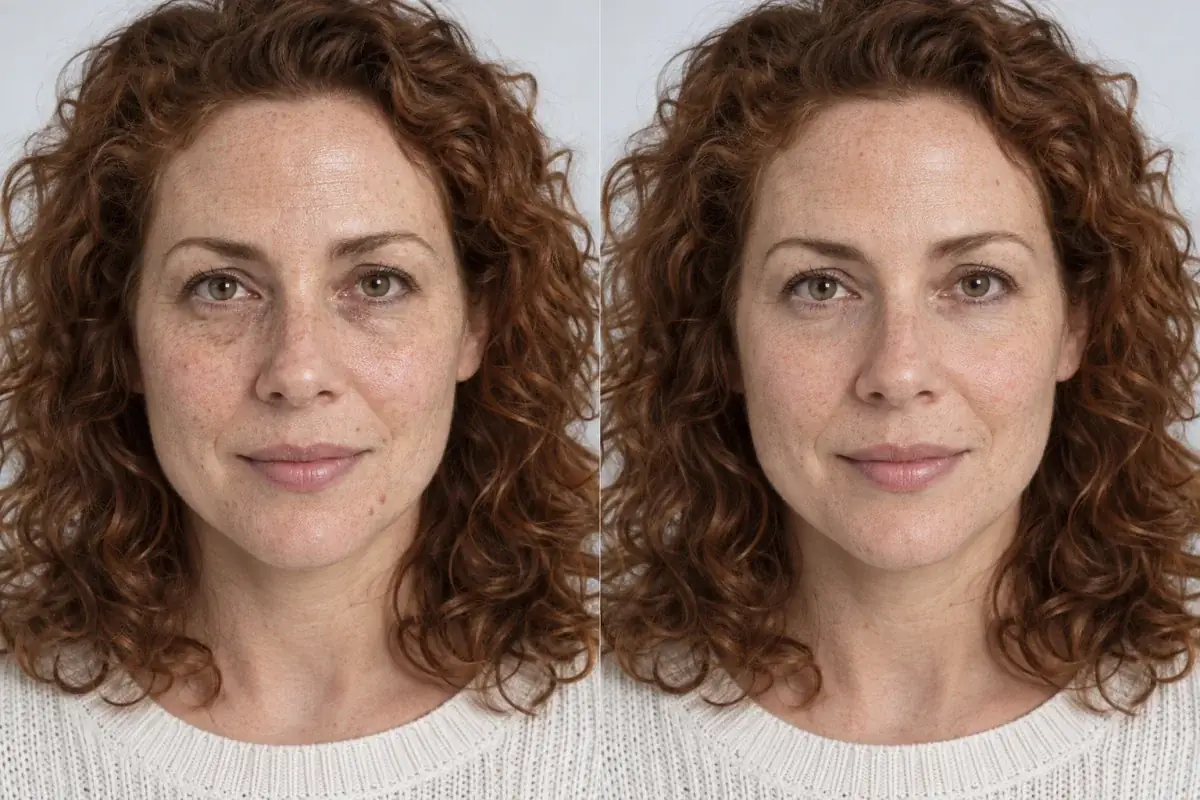
Many phones apply skin smoothing by default in the front camera, and several social apps apply their own on top and give you no way to turn it off. A smoothed photo has had the texture removed, which means anything reading your skin is reading a surface that does not exist.
Check your camera settings for anything named beauty, smoothing, or portrait retouch and turn it off. Then take the photo in the actual camera app rather than inside a social app, and use the rear camera if you can. It is a better lens and it is far less likely to be quietly improving you.
Angle and framing
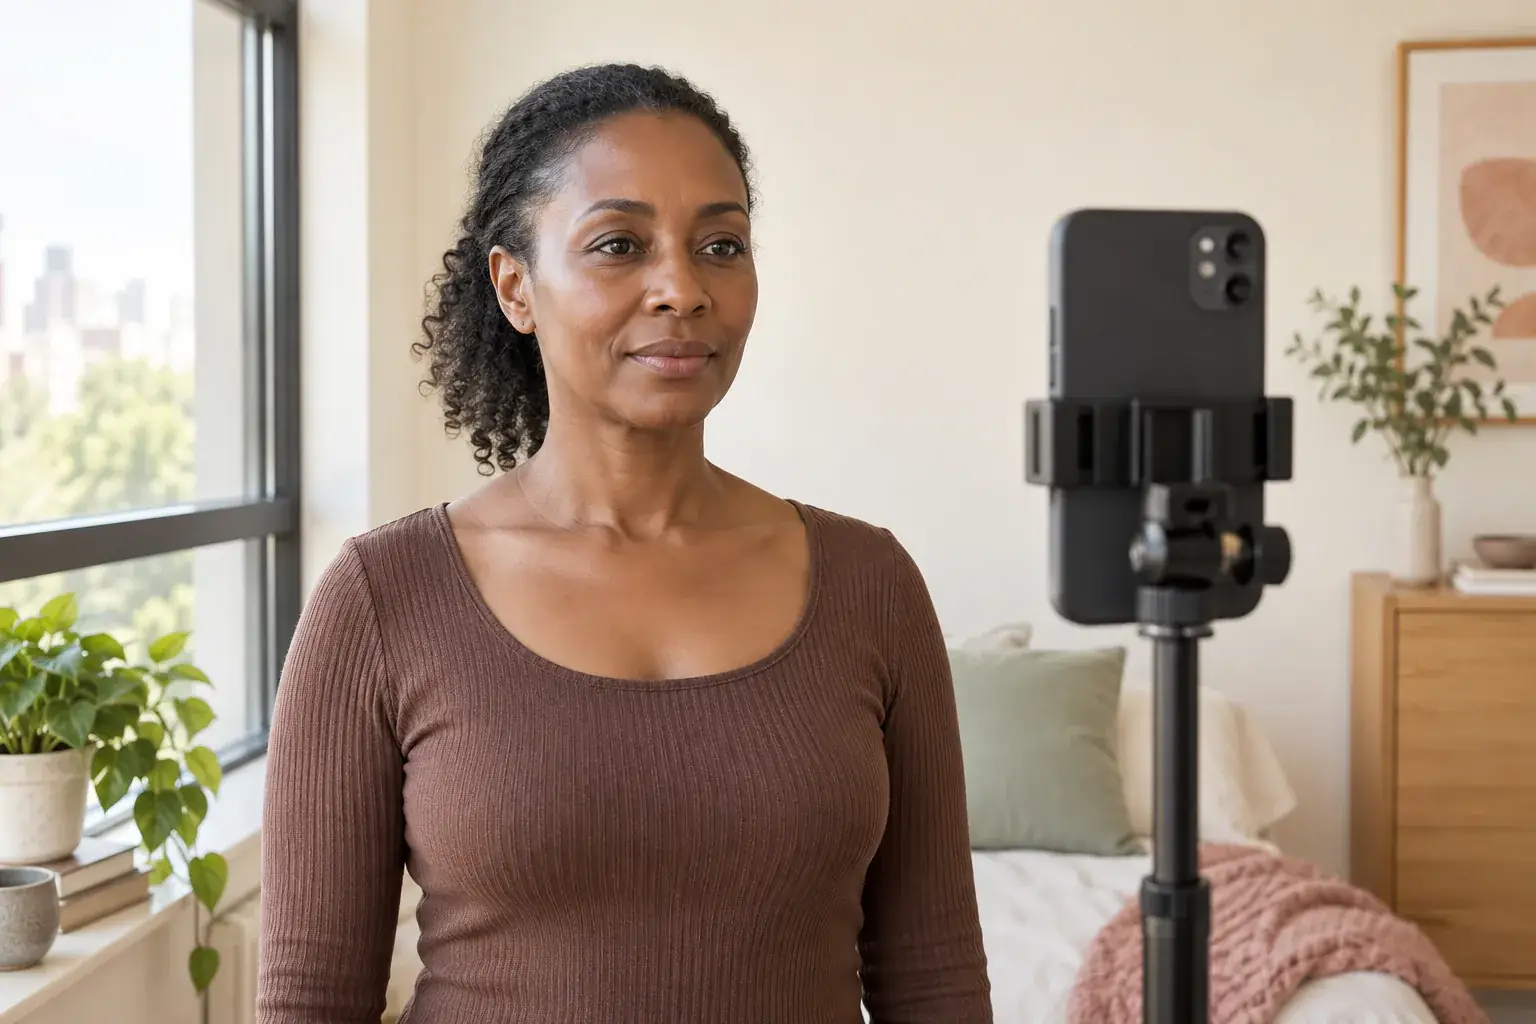
Front-facing, camera at roughly eye level, head filling a good part of the frame. That is most of it.
Camera height matters more than people expect. Held low, the lens distorts the jaw and nose; held high, it shortens the face. Neither is flattering or unflattering exactly. They are inaccurate, which is the problem for a try-on, because the result is applied to a face with the wrong proportions.
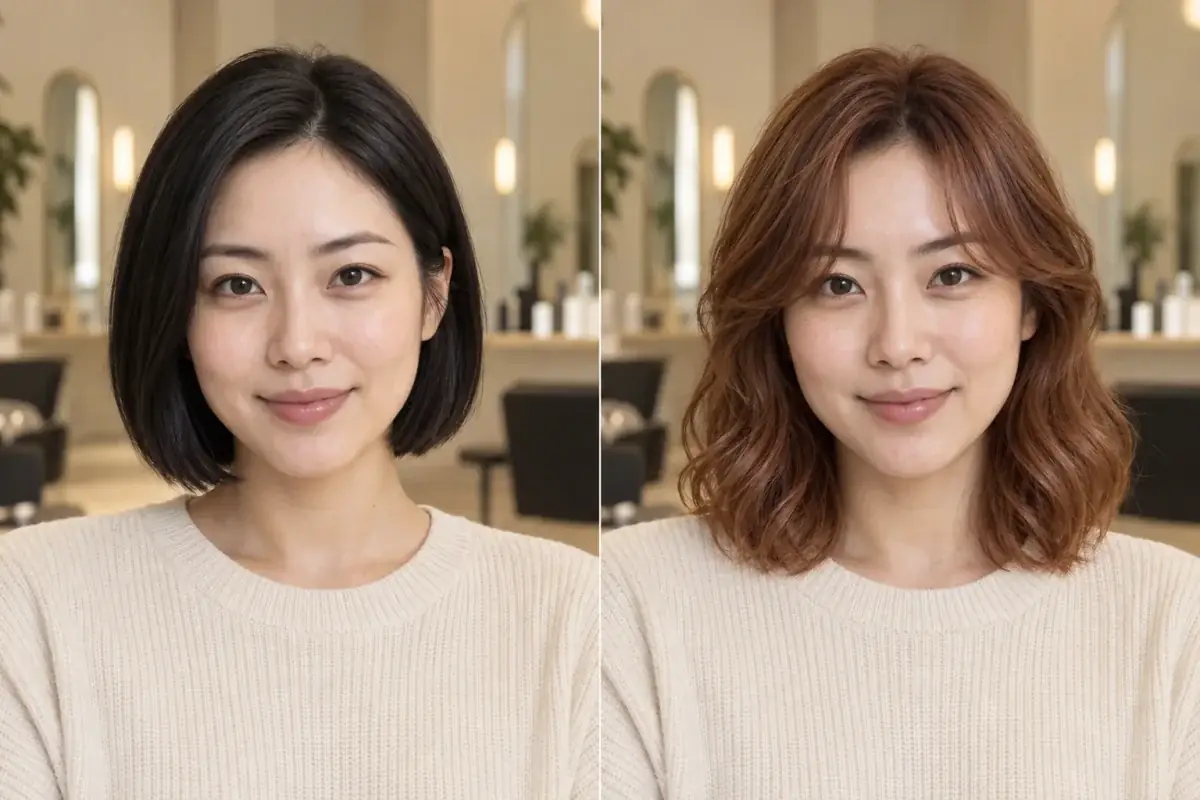
For hair, make sure the hairline and the ends are both in frame. A hair colour preview cropped at the chin cannot show you what the length does, and the length is half the decision.
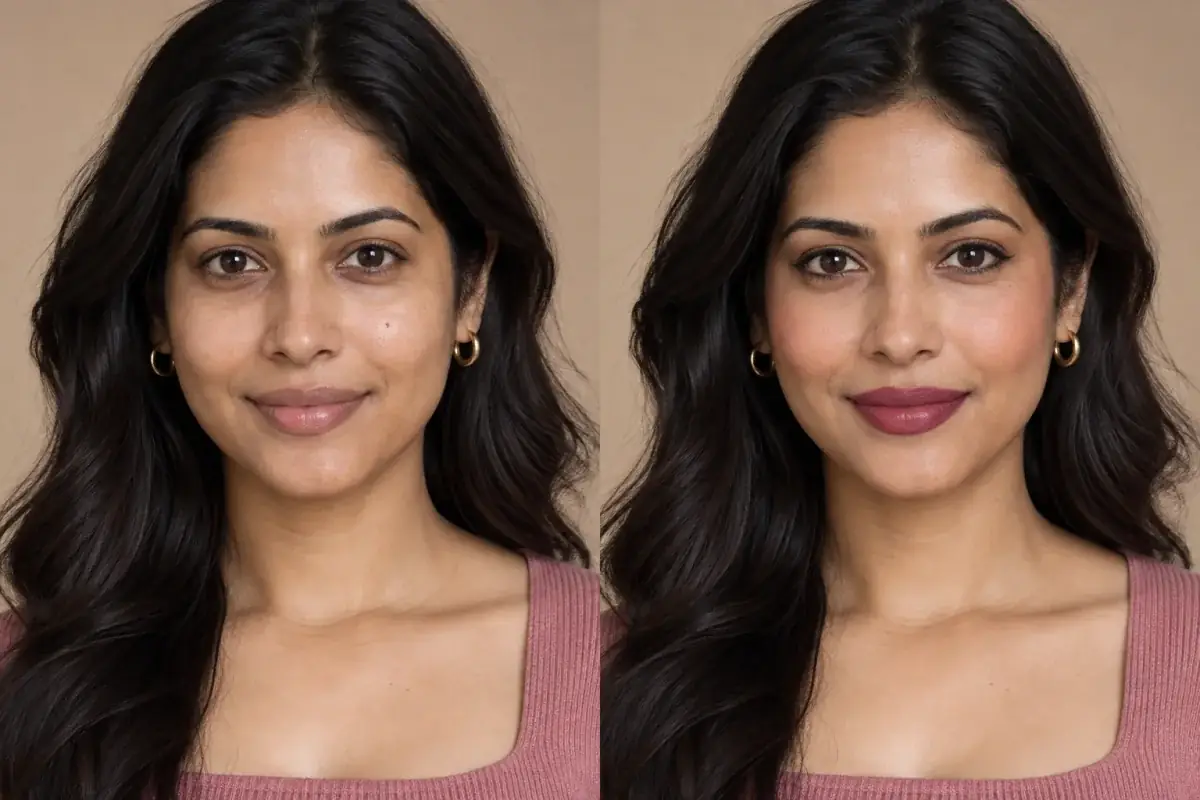
For makeup, get close enough that the eyes are properly resolved. Eye placement is the finest work in any makeup result and it needs pixels to work with.
What a good photo cannot fix
Some limits are not about the photo at all, and it is worth knowing which is which so you are not endlessly retaking.
Existing heavy makeup is the main one. A try-on works with what it can see, and it cannot see the skin under full coverage foundation. Bare or lightly made-up is a genuinely different quality of result, not a nice-to-have.
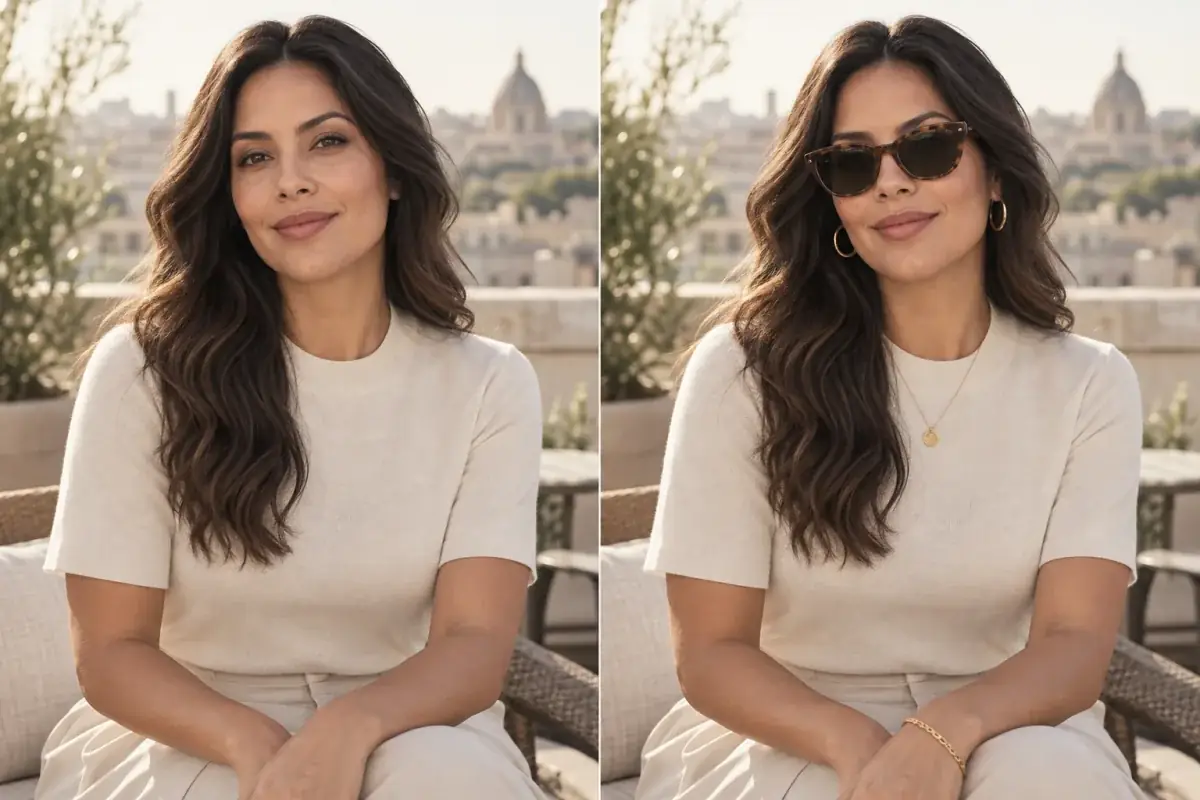
Glasses obscure eye area work and reflect light back at the camera. Hats and headbands remove the hairline. Neither is fatal for a lip shade and both matter for anything around the eyes or hair.
And resolution has a floor. A screenshot of a screenshot, or a photo sent through a messaging app that compressed it, has lost detail that nothing recovers. Send the original file rather than a forwarded copy.
A thirty-second checklist
Worth running once. After that it becomes automatic, and the same photo can be reused for every try-on you do, which is the point of keeping your uploads.
- Face a window, in daylight, out of direct sun.
- Beauty and smoothing filters off, in the real camera app.
- Camera at eye level, front on.
- Hair off the face if you are trying hair or eye makeup.
- Little or no makeup on, if you are trying makeup.
- Use the original file, not one that has been through a chat app.
When we will tell you it is not good enough
Uptone checks the photo before spending anything on it, and says specifically what is limiting rather than showing a generic error: no face detected, lighting too uneven to judge shade, resolution too low for eye work. That check exists so you find out in a second rather than after waiting for a result that was never going to be reliable. If a photo is workable but not ideal, it will say that too and let you decide.
Take the theory out of it.
The quickest way to know whether a photo is good enough is to upload it: the quality check runs before anything is generated, so a bad photo costs you nothing but the upload.
Questions people ask
Does a selfie work, or do I need someone to take it?
A selfie is fine, with two caveats: hold the camera at eye level rather than below, and use the rear camera if you can. It is a better lens and far less likely to be applying smoothing you did not ask for.
Can I use an old photo?
Yes, if the lighting is even and it has not been filtered. Age is not the issue; the processing is. A three-year-old photo taken by a window beats one from this morning taken in a bar.
Do I need to remove my makeup?
For makeup try-ons, yes or close to it: a tool cannot read skin it cannot see, and heavy foundation is exactly that. For hair colour it matters much less.
Why does the result look slightly different from me?
Usually the photo's lighting rather than the edit. If your photo was warm-lit, everything read from it inherits that warmth. Retaking in daylight fixes more of this than any setting will.
What resolution do I need?
Any modern phone photo at full size is plenty. What causes problems is compression: a screenshot of a screenshot, or a photo forwarded through a chat app, has lost detail permanently. Send the original.