How to whiten teeth in a photo: in Facetune, and why it goes wrong
Whitening teeth in a photo is the easiest retouch to do and one of the easiest to overdo. The tool is rarely the problem. The settings are.
The steps, in Facetune
Facetune is the app most people mean when they ask this, and its whitening tool is a brush. You paint the effect onto the teeth yourself, which is both why it is precise and why it is easy to get wrong.
- Open the photo in Facetune.
- Go to Retouch, then Whiten.
- Brush over the teeth. The app detects teeth and tries to keep the effect inside them, but the brush is still yours to place.
- Pull the intensity down. This is the step people skip, and it is the one that decides whether the result is believable.
Keep it around a quarter of the way up
The single most repeated piece of advice from people who edit photos for a living is to stop at roughly 20 to 30% intensity. It looks like almost nothing on the small preview. It looks correct at full size, which is the size other people will see it at.
The reason is that teeth are not white. They are a pale, slightly warm off-white with visible variation between one tooth and the next, and they get darker towards the gum line and towards the back of the mouth. A whitening brush at full strength flattens all of that into one even tone, and a flat even tone is the thing the eye reads as fake, not the brightness.
If you are unsure whether you have gone too far, look at the shadows between the teeth. If they have disappeared, so has the thing that made them look like separate teeth.
The three mistakes that give it away
Almost every obviously-edited smile fails in one of the same three ways, and all three are avoidable.
- Whitening past the teeth. The brush catches the lower lip or the gum line, and now there is a pale patch where there should be pink. This is the most common one and the most visible, because a gum lightened by even a little stops looking like tissue.
- Losing the shading. At full strength the natural gradient from front tooth to back tooth disappears and the mouth reads as a single white shape. Front teeth are meant to be slightly brighter than the ones beside them.
- Going bluer, not brighter. Many whitening tools shift the colour towards blue as they brighten. A little reads as clean; more than a little reads as a lit screen inside your mouth, and it fights the warmth of the rest of your face.
The bit nobody mentions: the rest of the photo
A smile that looks wrong is often not the whitening at all. It is that the teeth are now brighter than anything else in the frame.
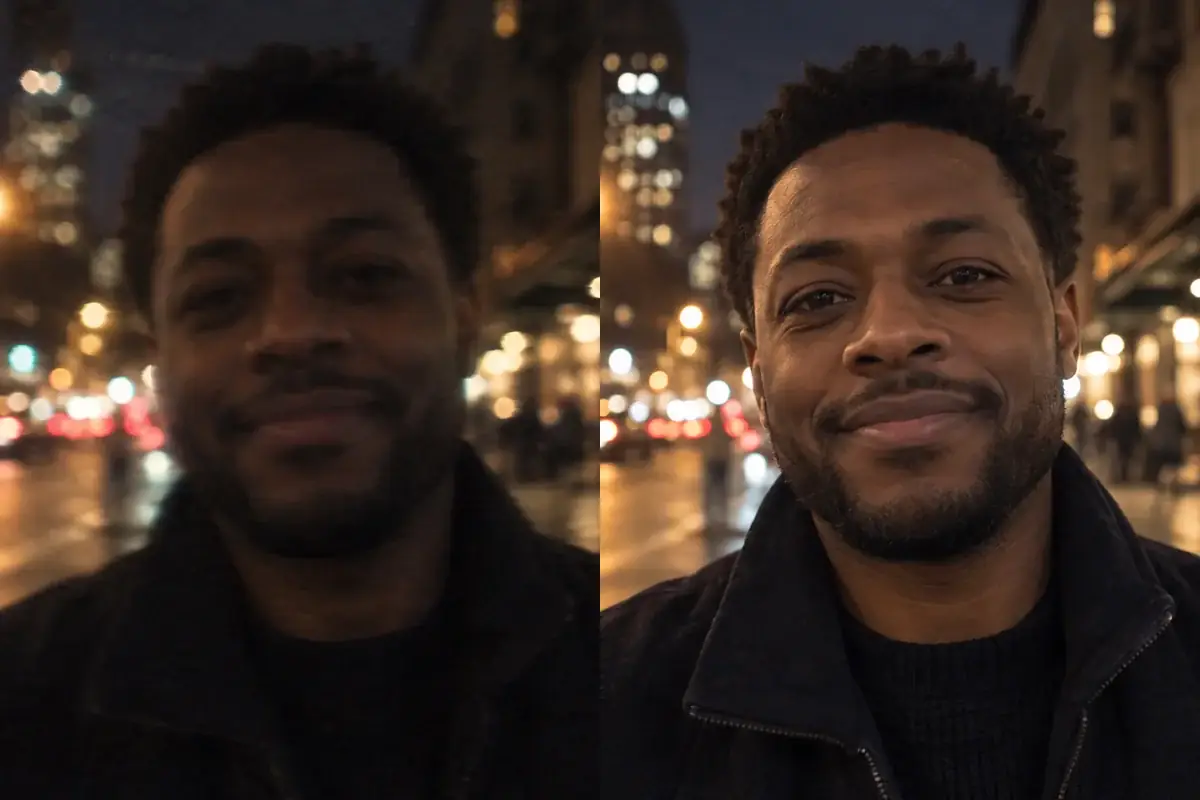
If the photo is lit dimly, whitened teeth become the lightest thing in it, and the eye goes straight there. Brightening the whole image slightly before whitening (or instead of whitening) solves more of these photos than any brush setting.
This is worth trying first. A lot of people whiten teeth when what they actually wanted was a better-lit photo.
If you would rather not brush it on
A brush gives you control and asks for a steady hand on a small area. That trade is fine on a laptop and awkward on a phone, which is where most people are doing this.
The alternative is a tool where the constraint is written into the instruction rather than into your hand: whiten the teeth, keep the tooth texture and shading, do not touch the lips or gums, match the edges to the surrounding skin tone. Those are the same three failures above, stated as rules before anything is edited.
Neither approach is better in the abstract. A brush is better when you want one tooth handled differently from the others. An instruction is better when you want the ordinary result and do not want to think about the edges.
What none of this can do
Photo whitening is photo whitening. It does not preview a dental treatment, and it is not a reliable guide to what whitening strips or a dentist would achieve on your teeth, which depends on whether the staining is on the surface or inside the tooth.
It also cannot rescue a photo where the teeth are barely visible or badly out of focus. Teeth occupy a very small number of pixels in most photographs, and there has to be enough detail there to work with. A closed-mouth smile gives a whitening tool nothing at all.
On editing your own face
There is nothing wrong with wanting a photo you like. It is worth being honest with yourself about which direction you are editing in, though: a slight lift that keeps your own teeth looking like your own teeth is a different thing from an every-photo habit of removing something you have decided is a flaw. Uptone will whiten a photo for you and will not tell you that you needed it.
Take the theory out of it.
If you want the ordinary version without brushing it on, Uptone whitens and straightens with the tooth texture kept and the lips and gums explicitly excluded. Free to start, and a failed generation costs you nothing.
Questions people ask
Should I whiten my actual teeth instead?
That is a different question with a different answer, and it turns on whether your staining is on the surface of the tooth or inside it. Only the first responds well. We wrote that up separately in how to whiten teeth.
What is the best intensity for whitening teeth in a photo?
Around 20 to 30%. It looks underdone on a phone preview and correct at full size. The test is whether the shadows between the teeth are still there: if they have gone, so has the thing that made them read as separate teeth.
Where is the teeth whitening tool in Facetune?
Under Retouch, then Whiten. It is a brush, so you paint it over the teeth yourself, and the intensity slider is the setting that matters most.
Why do my whitened teeth look fake?
Almost always one of three things: the brush went onto the lip or gum, the intensity flattened the natural shading between teeth, or the whitening pushed the colour blue rather than just brighter. The third is the hardest to spot on a small screen and the most obvious on a large one.
Can you whiten teeth in a photo for free?
Yes. Most editing apps include some form of whitening in their free tier, usually with a watermark or an export limit. Uptone is free to start and does not watermark, and if a generation fails you are not charged for it.
Will whitening a photo touch my lips or gums?
With a brush, that is entirely down to where you paint. It is the most common way the edit becomes visible. Uptone's instruction excludes the lips, gums and everything outside the teeth explicitly, and matches the edges to your own skin tone.
Can a photo editor straighten teeth as well?
Some can, and it is a harder edit than whitening because tooth shape carries a lot of identity. Uptone's straightening evens out visible misalignment while keeping your own tooth count, size and general shape, which is the constraint that stops it becoming a different smile.
Does photo whitening show what real whitening would look like?
No, and it is worth not treating it as one. How far real teeth lift depends on whether the staining is on the surface or inside the tooth, which a photograph cannot tell you.